
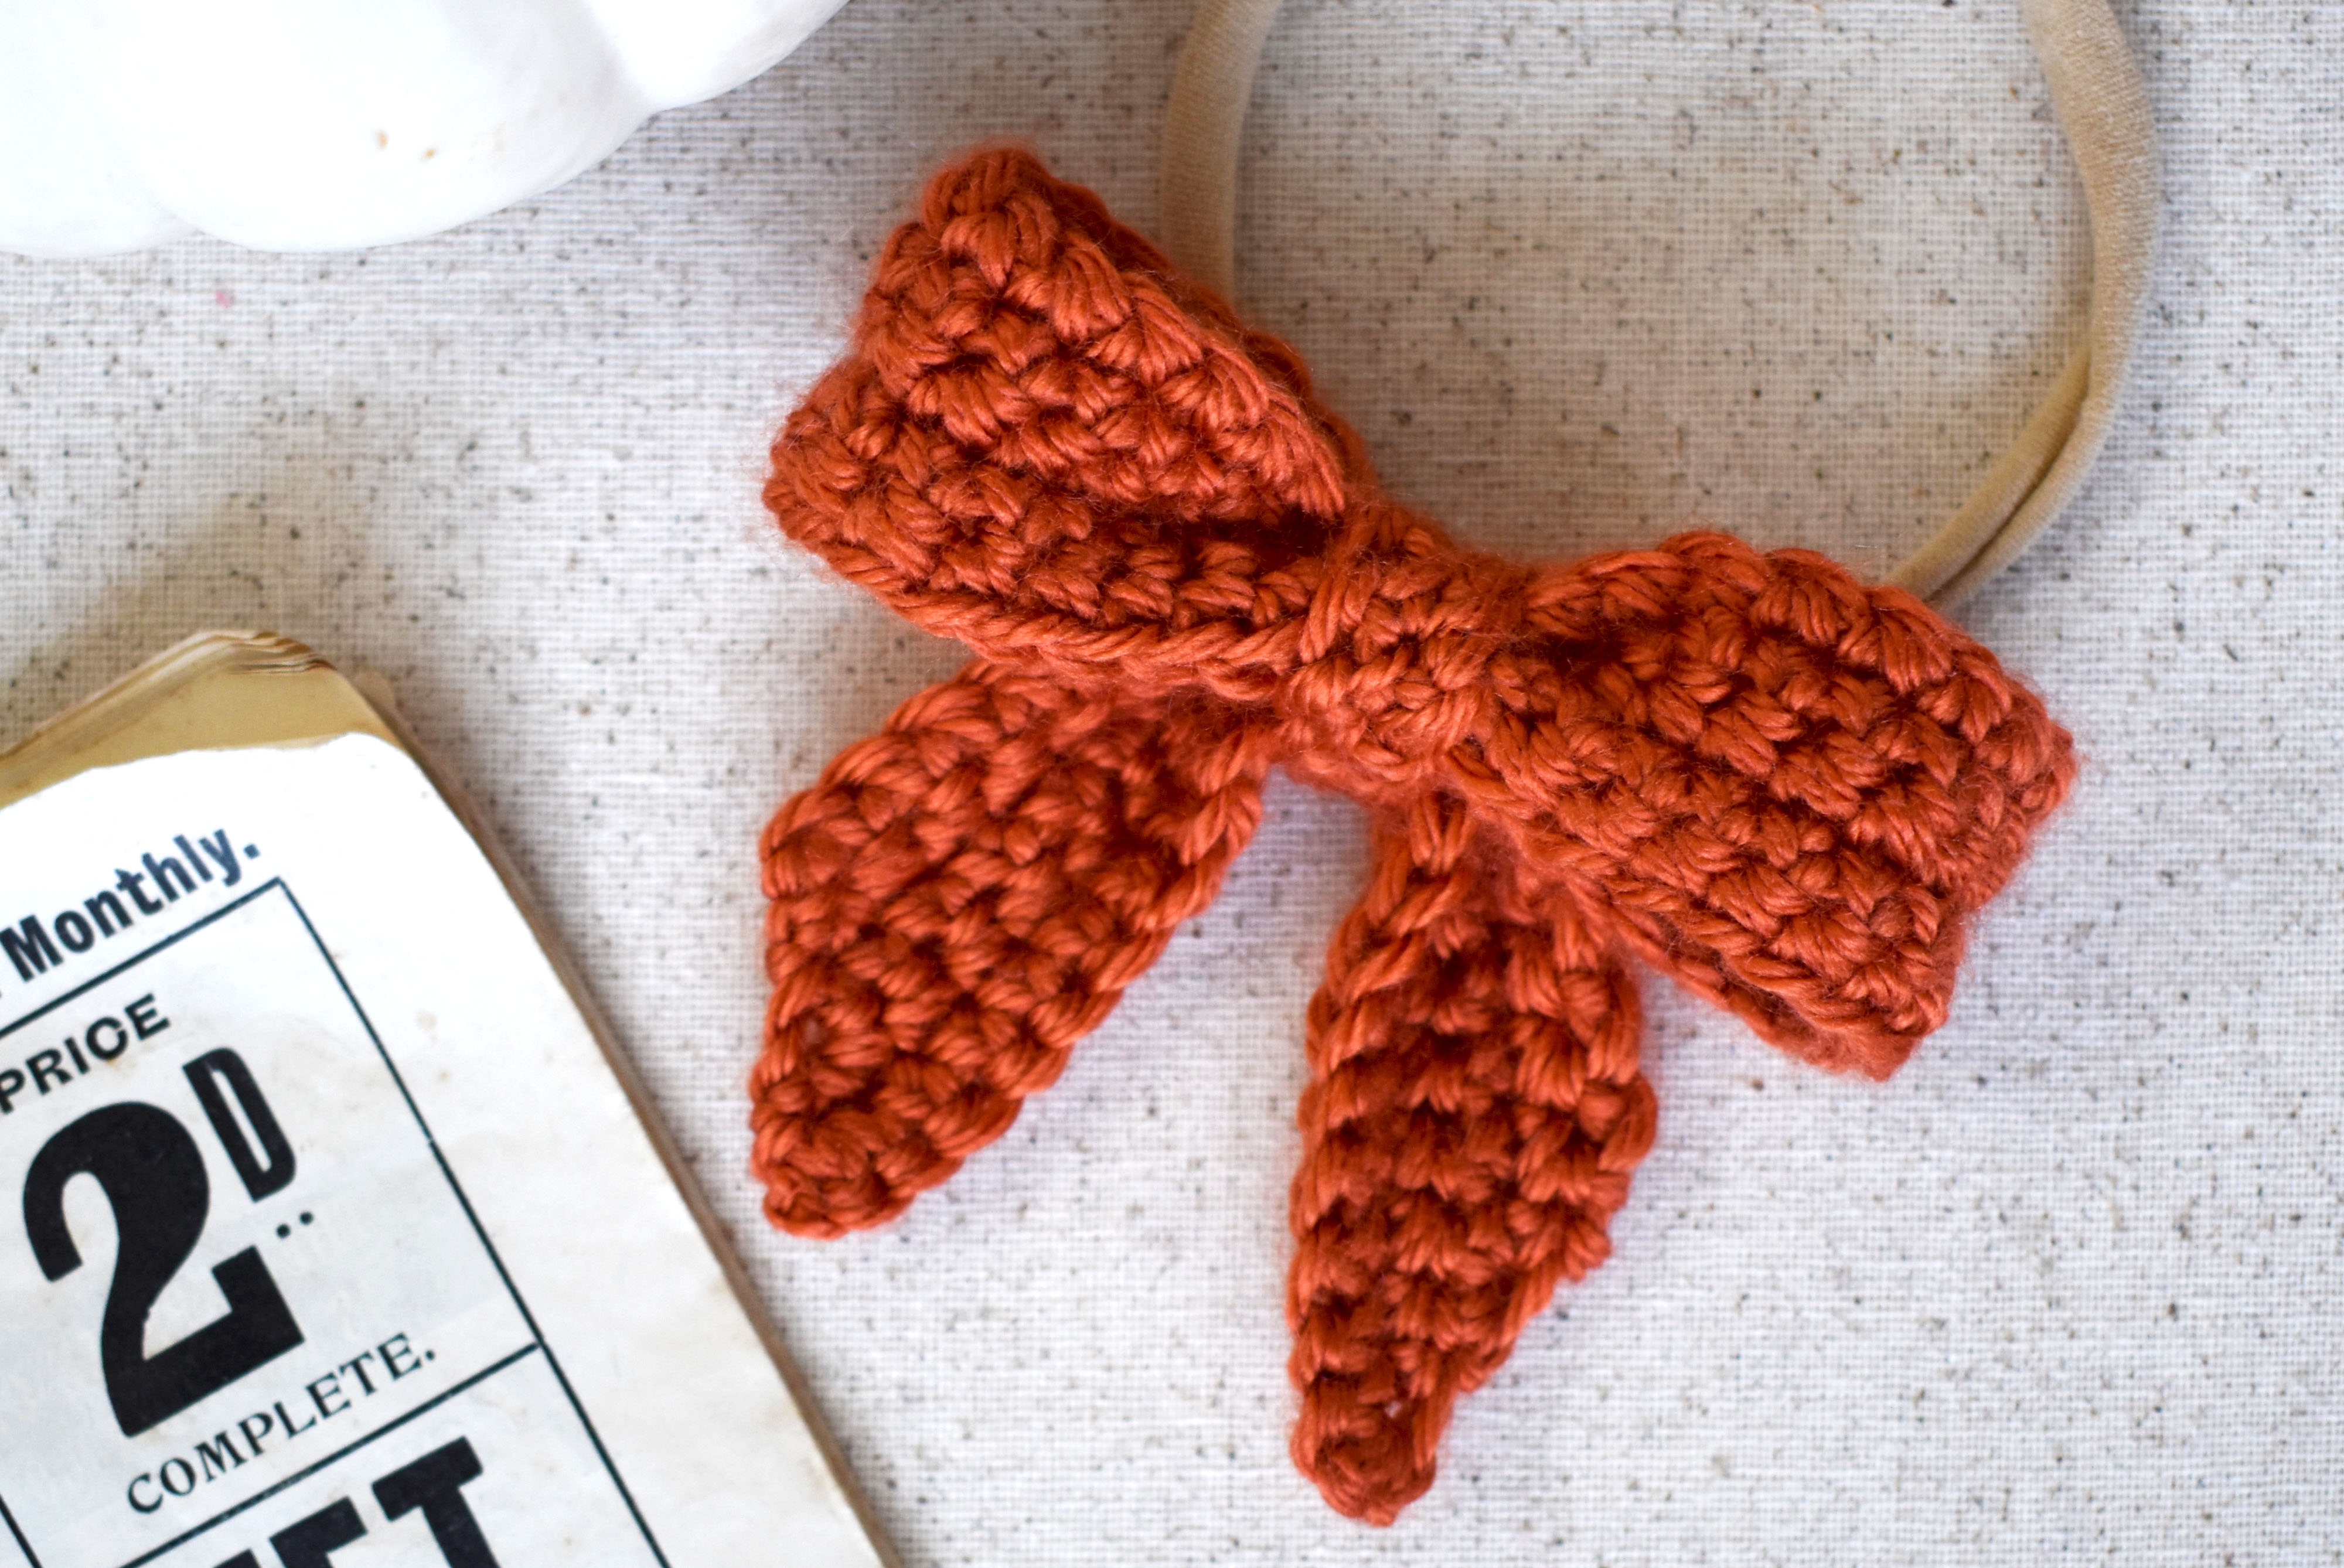
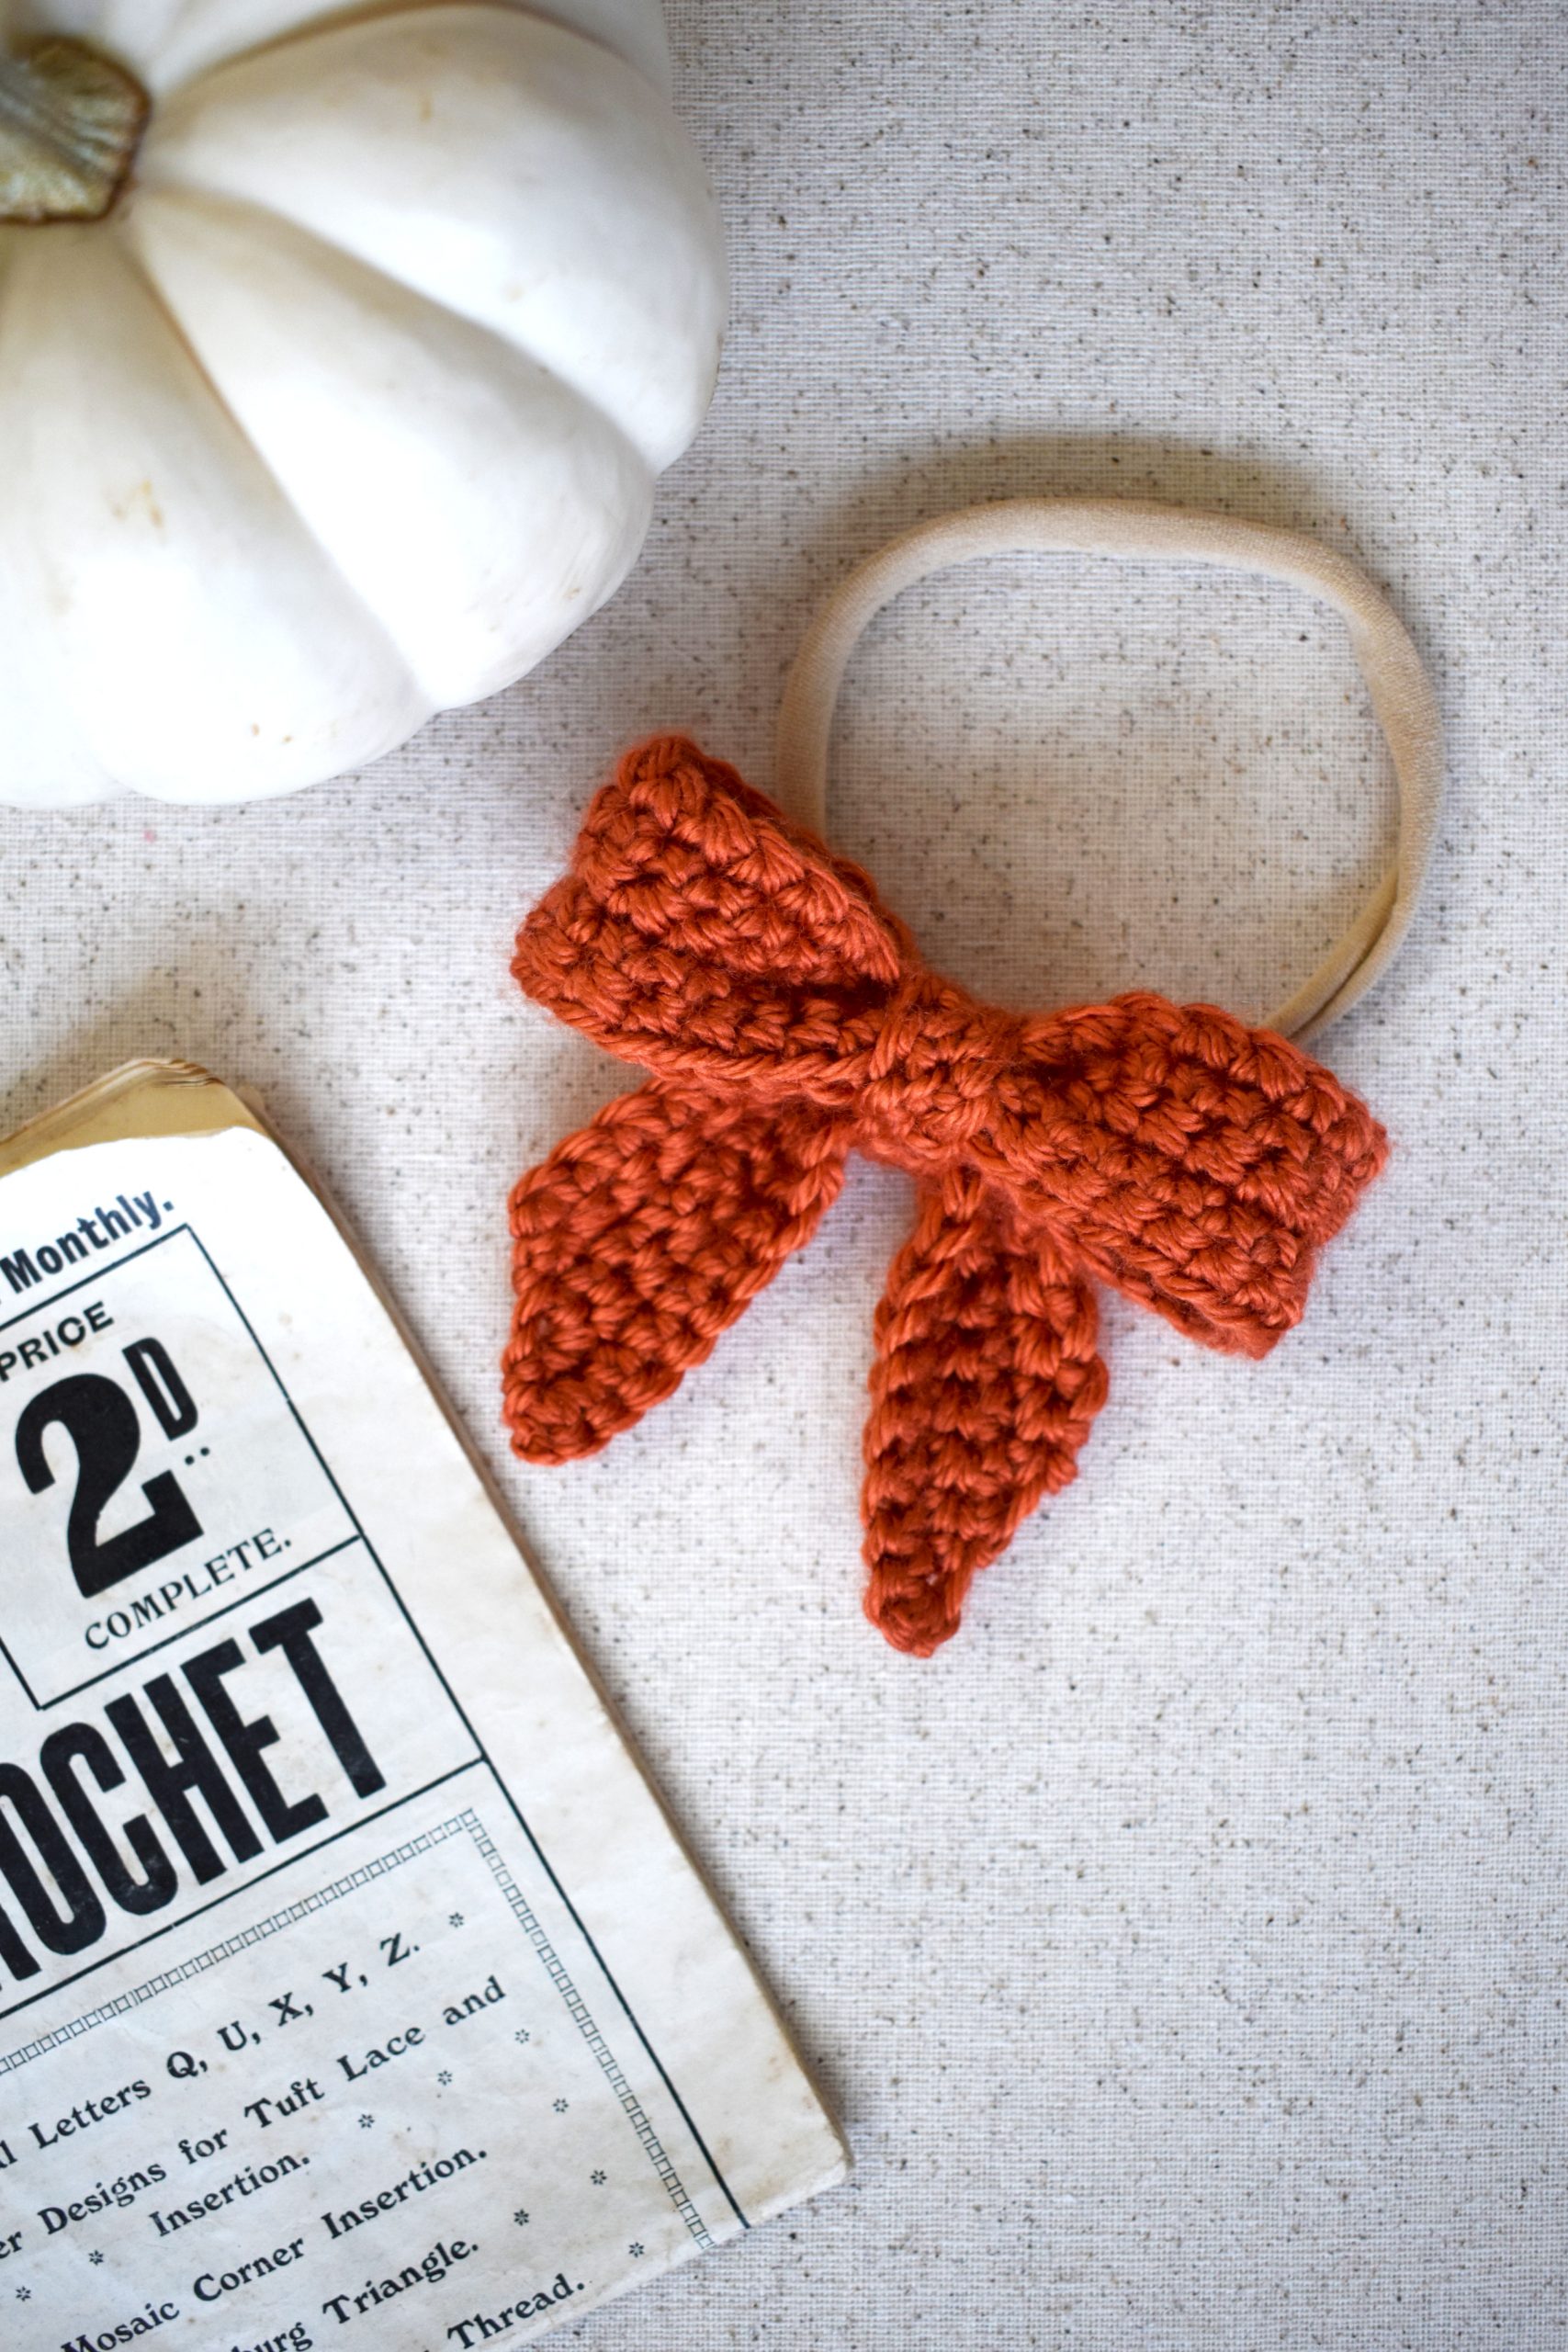
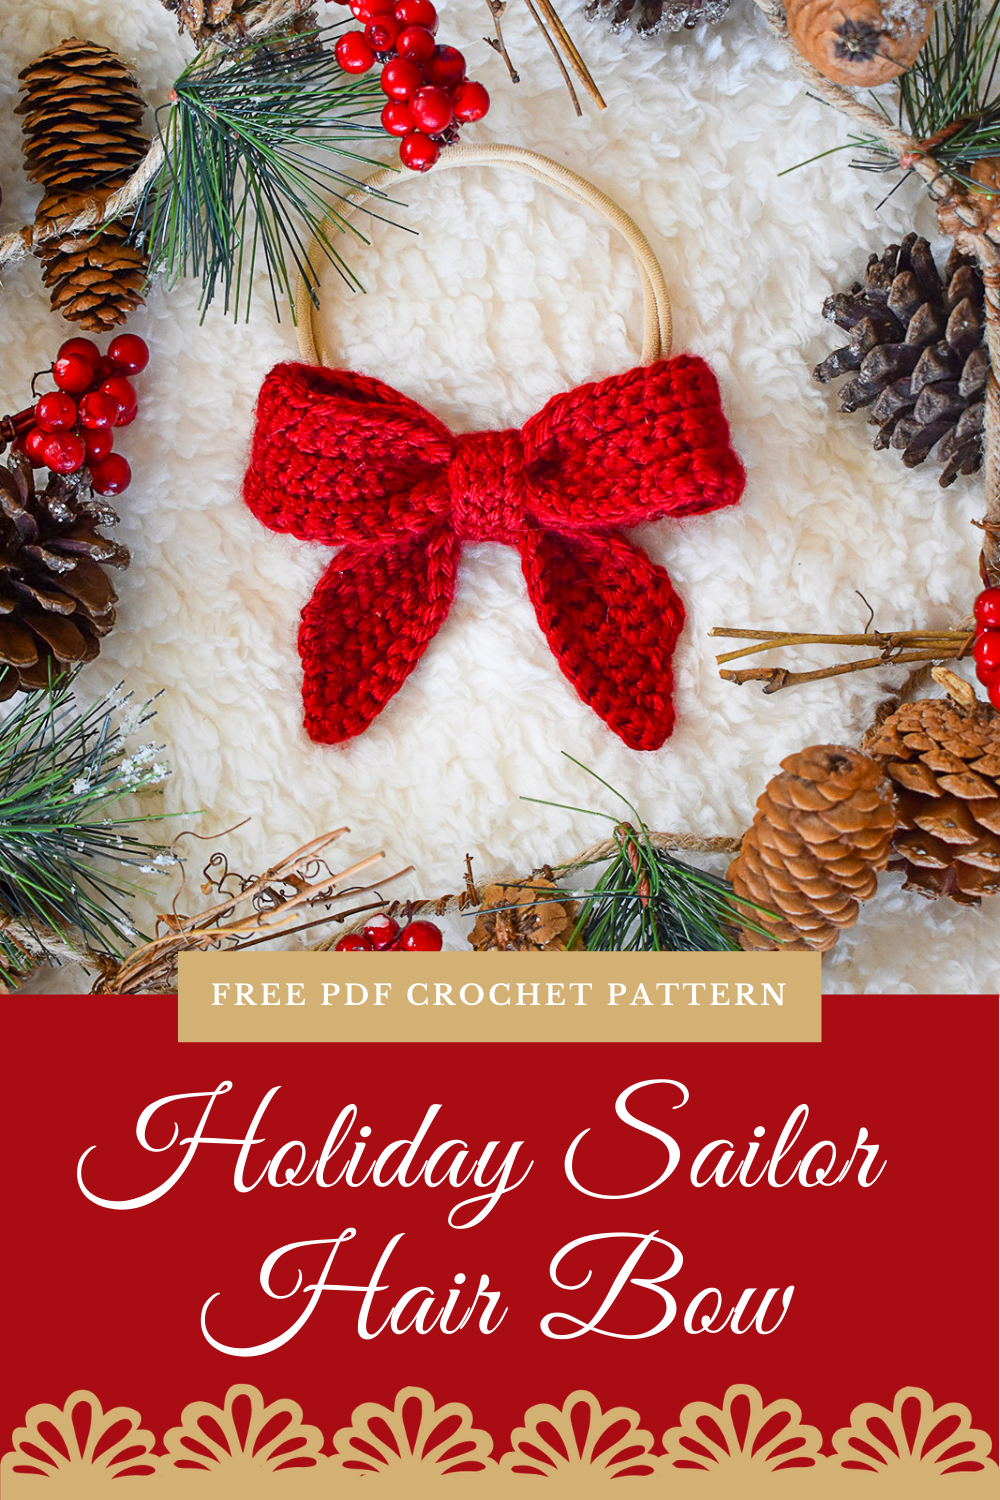
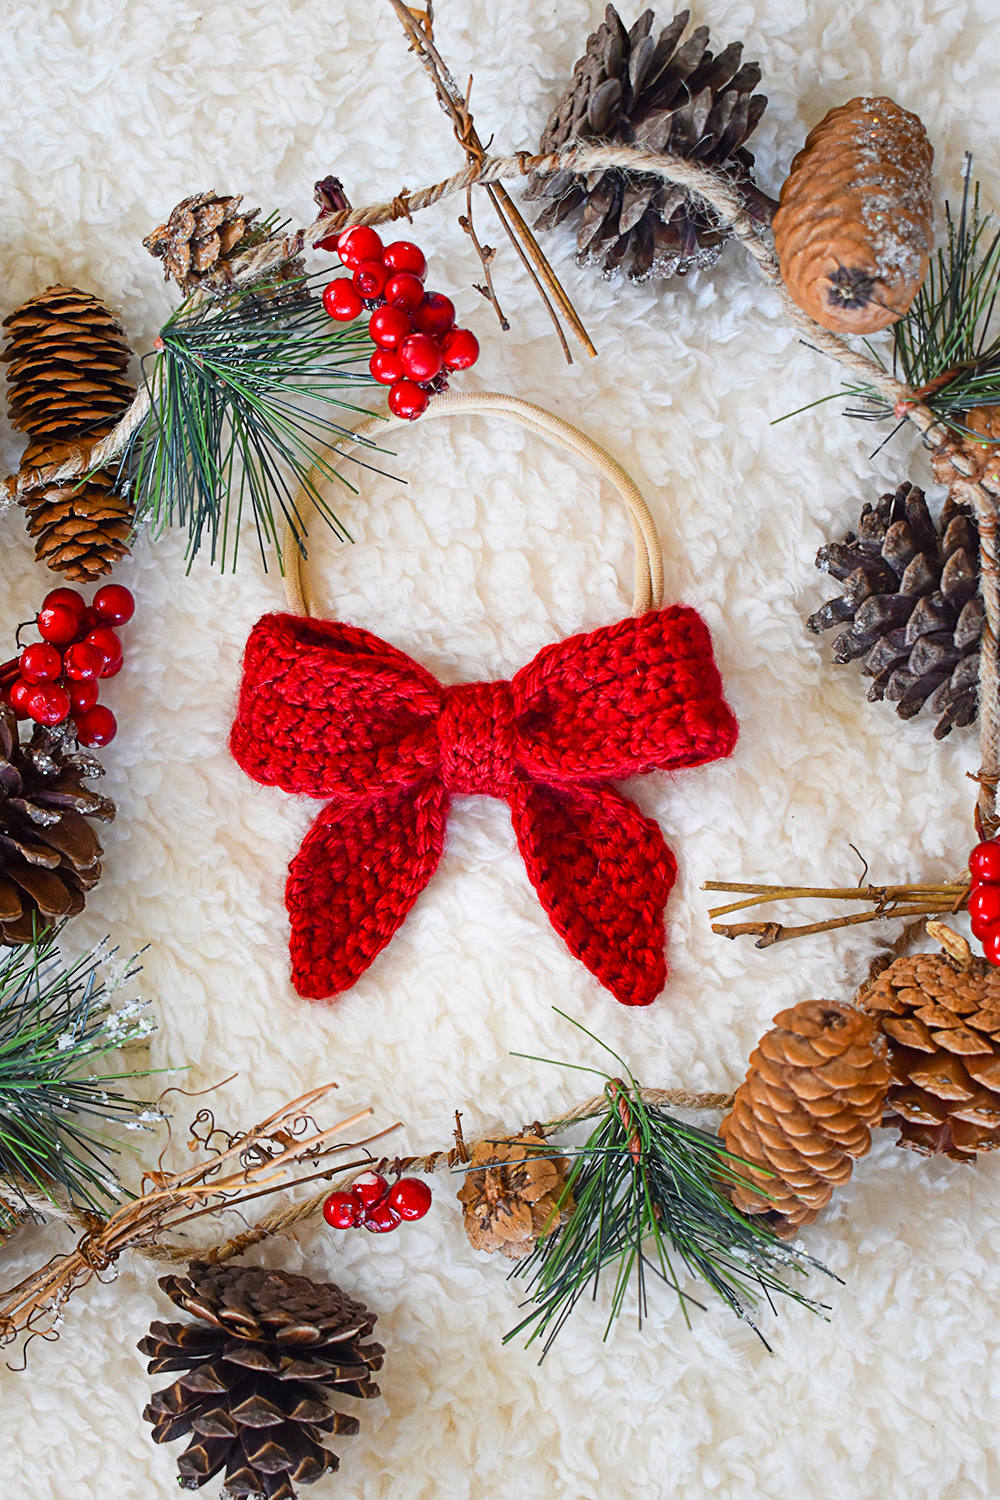
Classic Sailor Hair Bow Free Crochet Pattern
My name is Alexa, and I’m addicted to making hair bows. With fall approaching, I wanted to make some cute, seasonal bows for my nieces and was shocked to find that there wasn’t a sailor bow crochet pattern on Pinterest. So, with much trial and error, I’ve made my own. They are so easy and quick to make and are a perfect project for crochet beginners. They would also make great additions to your Etsy shop or craft fair display!
The pattern uses only chain stitches and single crochet. The tight weave of the single crochet stitch helps the bow keep its shape. These bows can be made in five sizes ranging from mini, which is about 3 inches wide by 2.5 inches high, to jumbo, which is about 6 inches wide by 4.25 inches high. Below, you can find a free pattern and step-by-step tutorial for the medium size, which is about 4.5 inches wide by 3.5 inches high.
This pattern is free for personal use. If you’d like to sell your bows or you’d like to make them in another size, please purchase a commercial license from my Etsy shop. As a friendly reminder, 10% of the proceeds I make from my Etsy sales and affiliate links go towards organizations that help children and youth in foster care.
CLICK HERE TO DOWNLOAD THE FREE PDF PATTERN
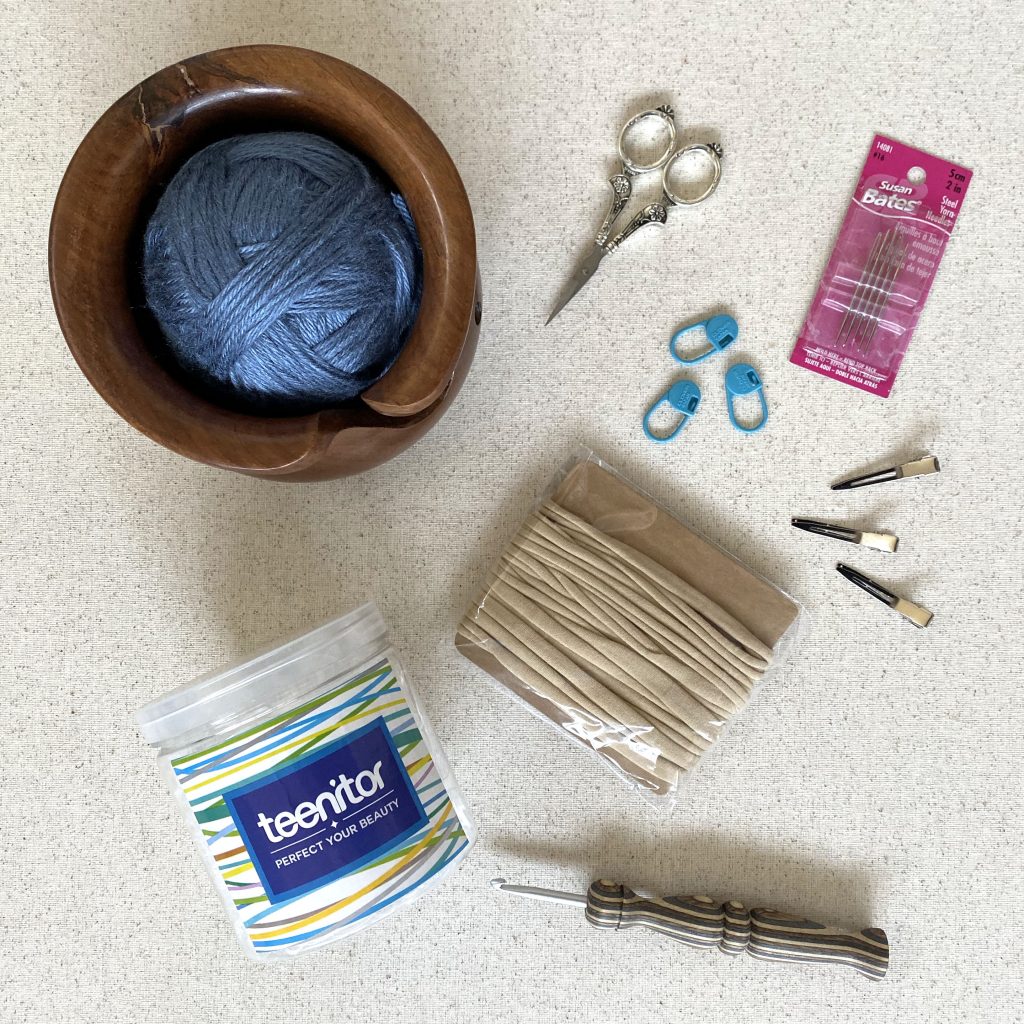
For this project, you will need:
- About 16 grams/30 yards medium worsted weight yarn (I prefer Caron Simply Soft for its texture and beautiful fall colors)
- Size H/5.00mm crochet hook (I got mine here, but you can find a more basic one here)
- Scissors
- 3 small, clear polybands
- Yarn needle
- Locking stitch markers
- Nylon headband, alligator clip, or ponytail holder
- Yarn bowl (optional but useful)
If you’re an absolute beginner, don’t worry! You only need to learn 2 stitches. This is a great video tutorial for the chain stitch, and this is a great video tutorial for the single crochet stitch. You may also want to learn how to finish off each piece and weave in loose ends of yarn.
The abbreviations I use in this pattern are SC for single crochet, CH for chain, and FO for finish off. The gauge is a 1″ by 1″ square represents roughly 4 SCs by 5 rows. You will make 3 individual pieces: the body of the bow, the center of the bow, and the tails of the bow.
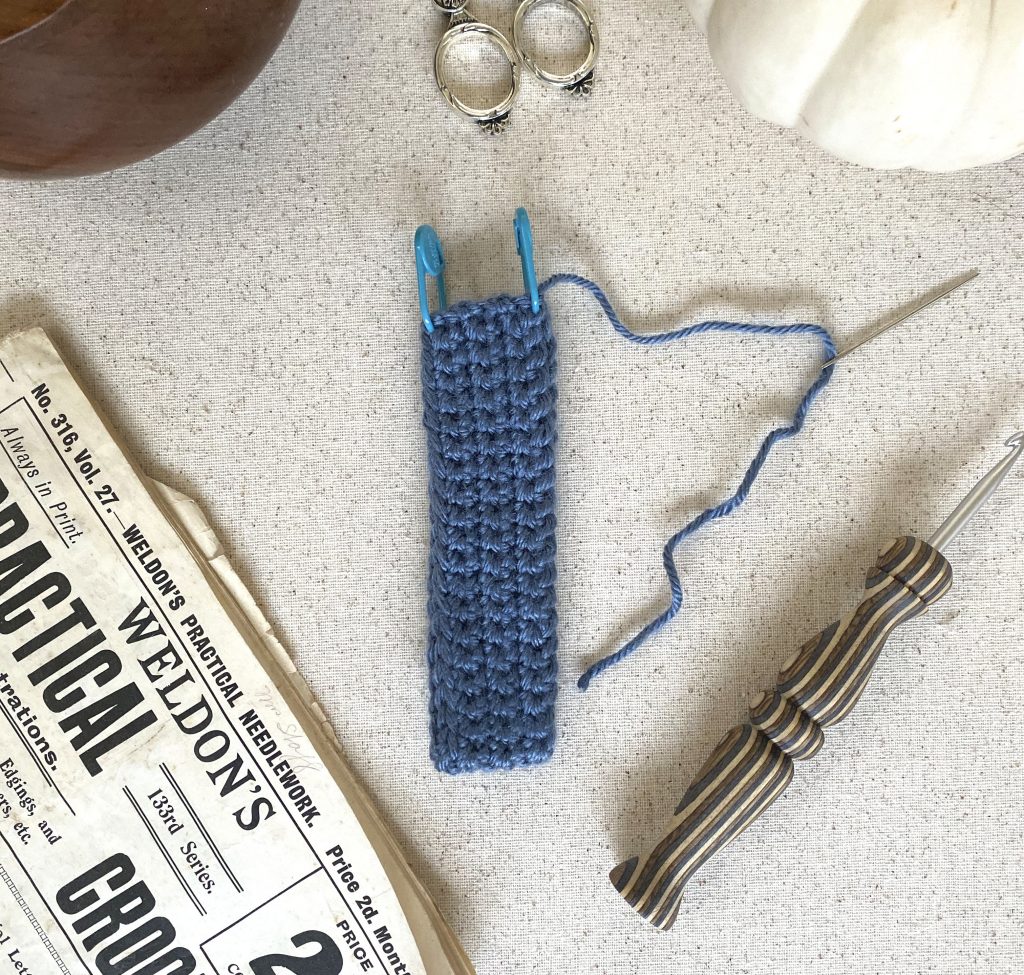
Body
- Foundation Chain: CH 41
- Row 1: SC in the 2nd chain from the hook & SC in each CH. CH 1, turn. (40 SCs)
- Rows 2-5: SC in each stitch across. CH 1, turn. (40 SCs/row)
- Row 6: SC in each stitch across. FO. Weave in only one of the two ends. (40 SCs)
Center
- Foundation Chain: CH 9
- Row 1: SC in the 2nd chain from the hook & SC in each CH. CH 1, turn. (8 SCs)
- Row 2: SC in each stitch across. CH 1, turn. (8 SCs)
- Row 3: SC in each stitch across. FO. Weave in only one of the two ends. (8 SCs)
Tails
- Foundation Chain: CH 17
- Row 1: SC in the 2nd chain from the hook & SC in each CH. CH 1, turn. (16 SCs)
- Row 2: 2 SC in first stitch, SC in next 14 stitches, 2 SC in last stitch. CH 1, turn. (18 SCs)
- Row 3: 2 SC in first stitch, SC in next 16 stitches, 2 SC in last stitch. CH 1, turn. (20 SCs)
- Row 4: 2 SC in first stitch, SC in next 18 stitches, 2 SC in last stitch. CH 1, turn. (22 SCs)
- Row 5: 2 SC in first stitch, SC in next 20 stitches, 2 SC in last stitch. CH 1, turn. (24 SCs)
- Row 6: 2 SC in first stitch, SC in next 22 stitches, 2 SC in last stitch. FO. Weave in both ends. (26 SCs)
Assembly
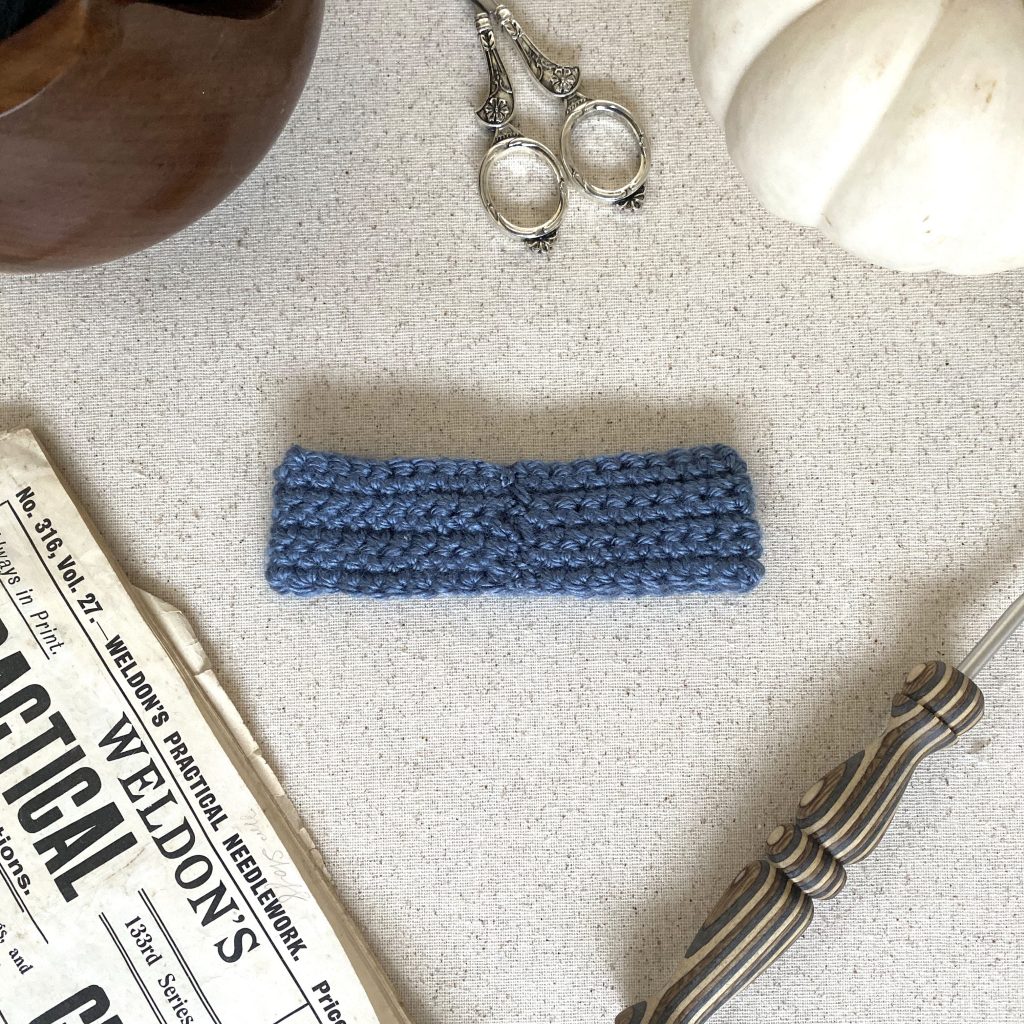
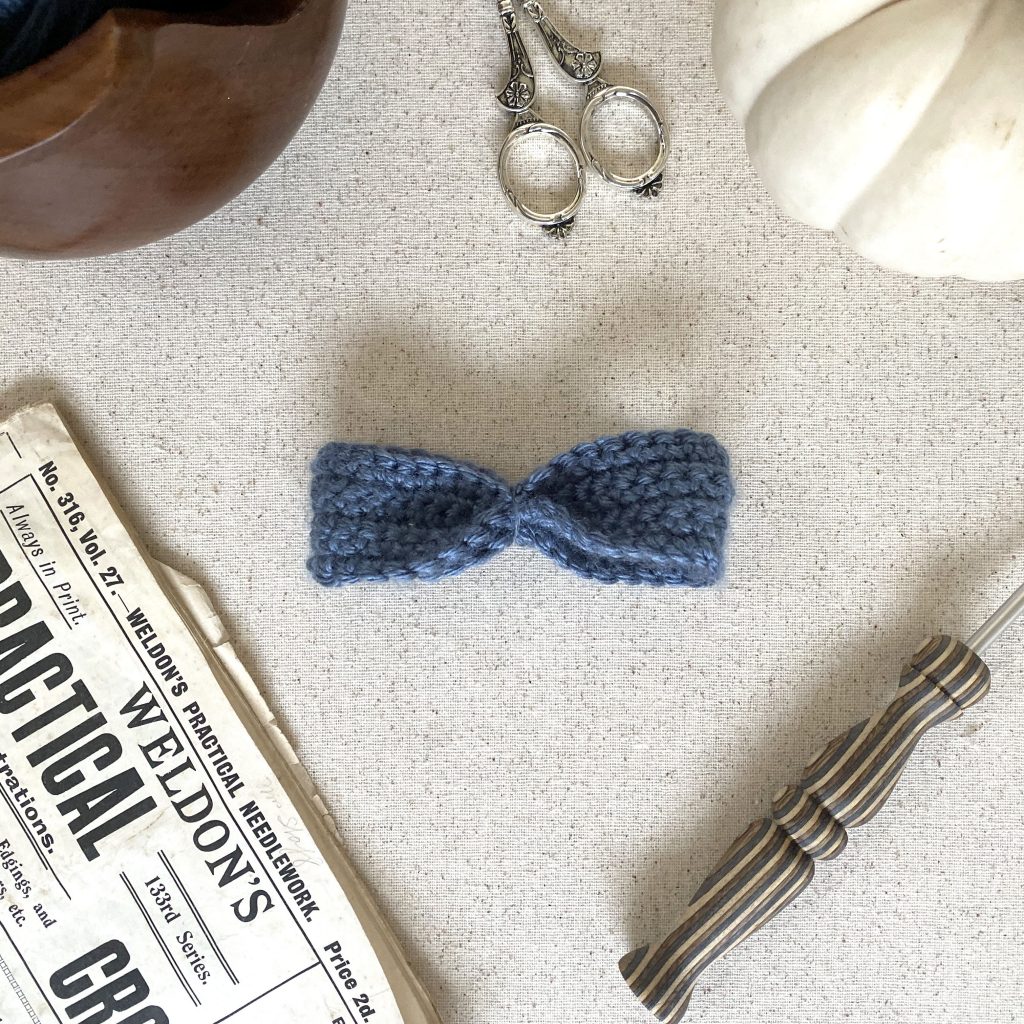
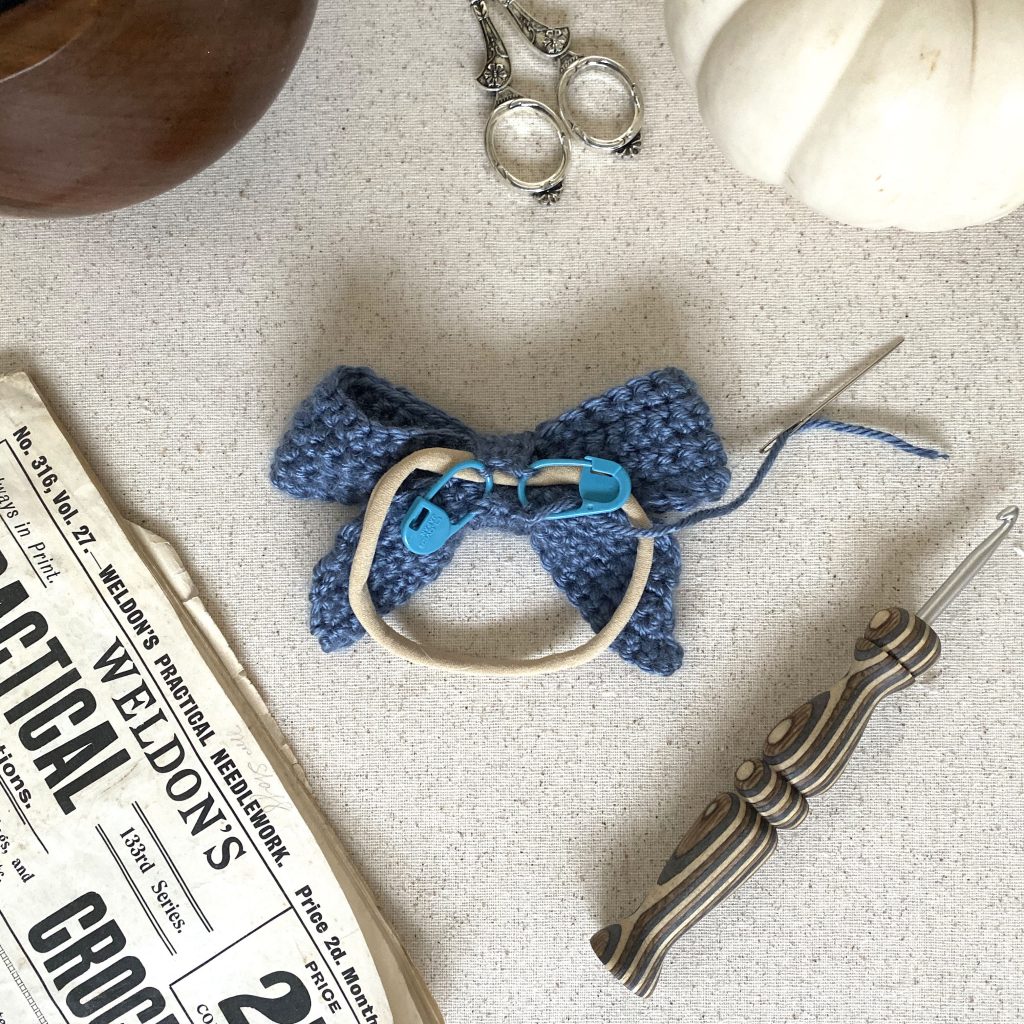
First, fold the body piece in half, lining up the edges. Pin the edges together using the stitch counters. Thread the end of the yarn that you didn’t weave in and stitch the raw edges together to form a band.
Fold the body so that the seam that you just stitched is in the center. This way, the seam will be covered by the center of the bow.
Pinch the center of the body and secure using a poly band.
Next, pinch the center of the tail piece and secure it with another poly band.
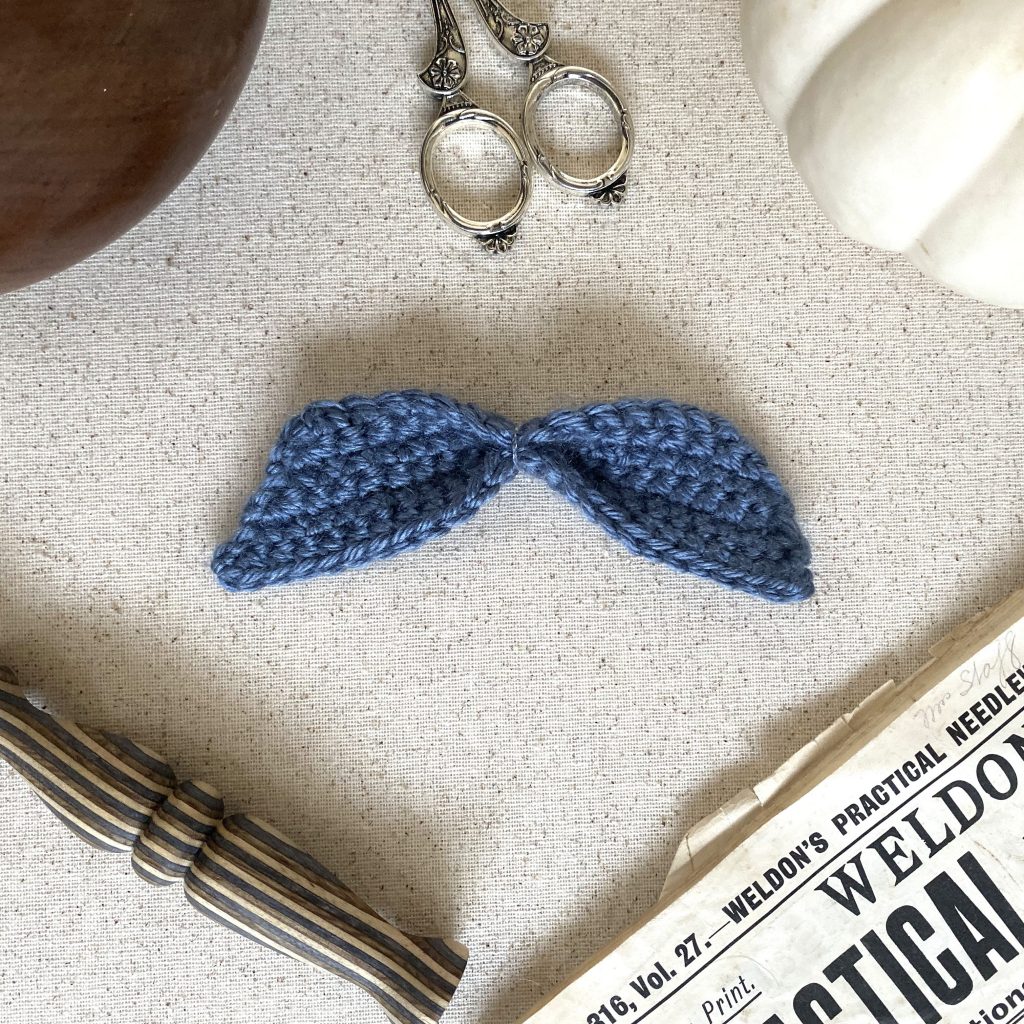
Place the body on top of the tail piece, aligning the centers. Attach them using a third poly band.
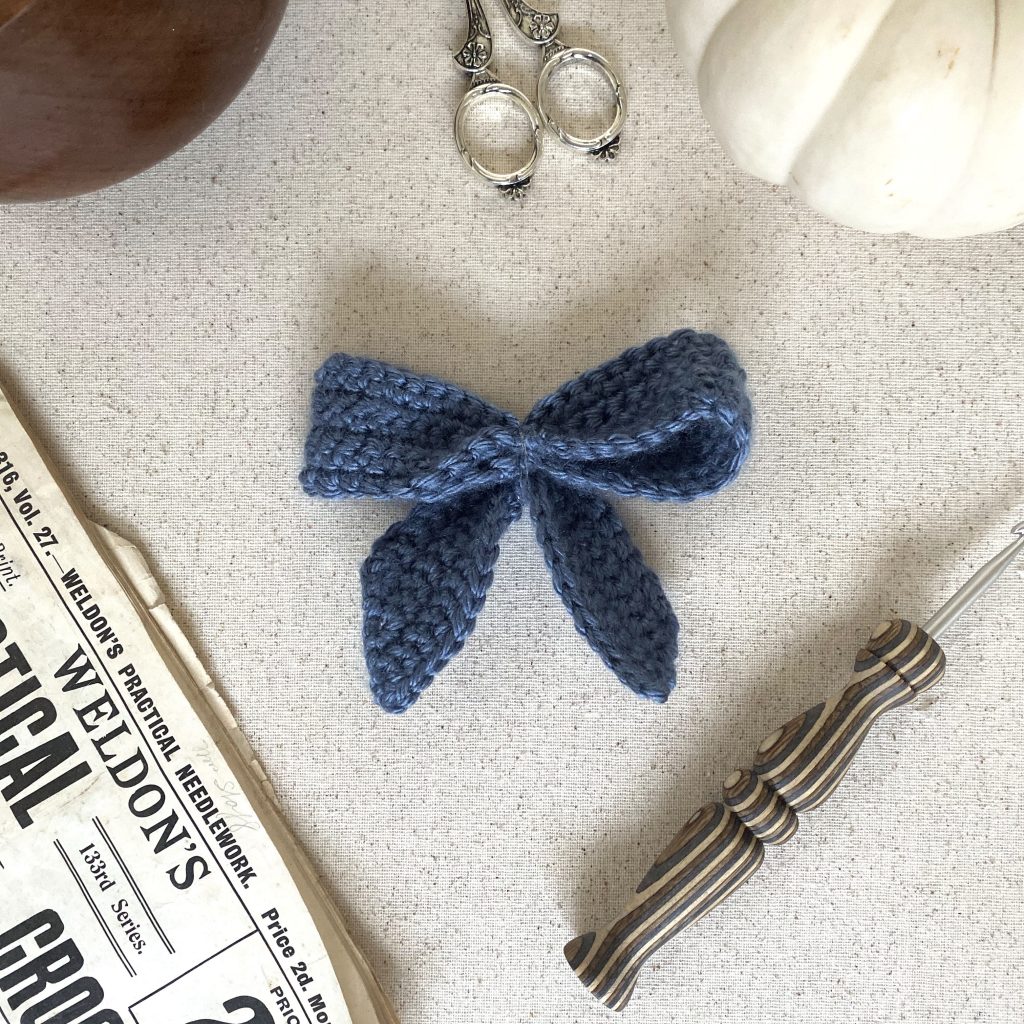
Next, place the center piece over the center of your bow, covering the polybands.
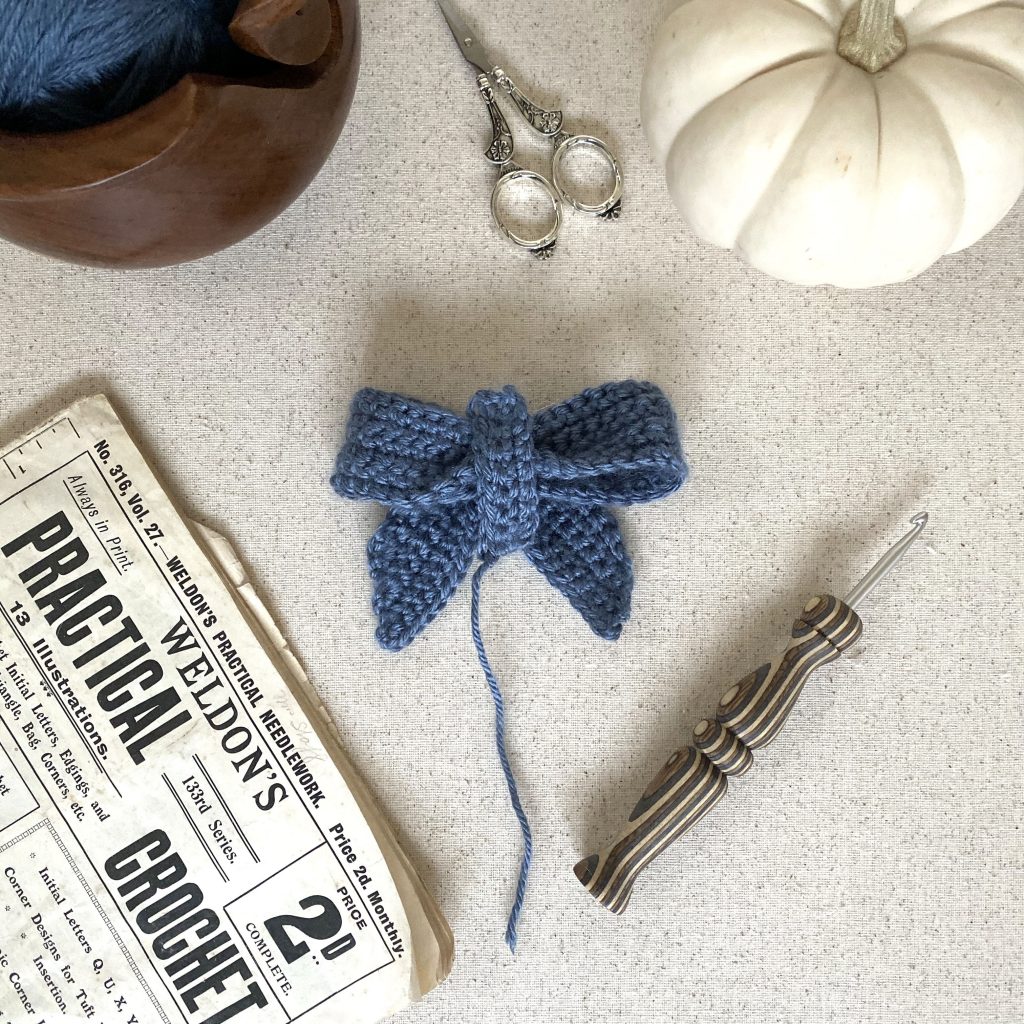
Flip the bow over. If you plan to use a nylon headband or a ponytail holder, place it on top of the center of the bow as in the photo below. Wrap the edges of the center piece around the center of the bow & the nylon headband or ponytail holder. Pin the edges together using the stitch counters. Thread the end of the yarn that you didn’t weave in and stitch the raw edges together. If you’re using an alligator clip, stitch or hot glue the clip to the back center of the bow.
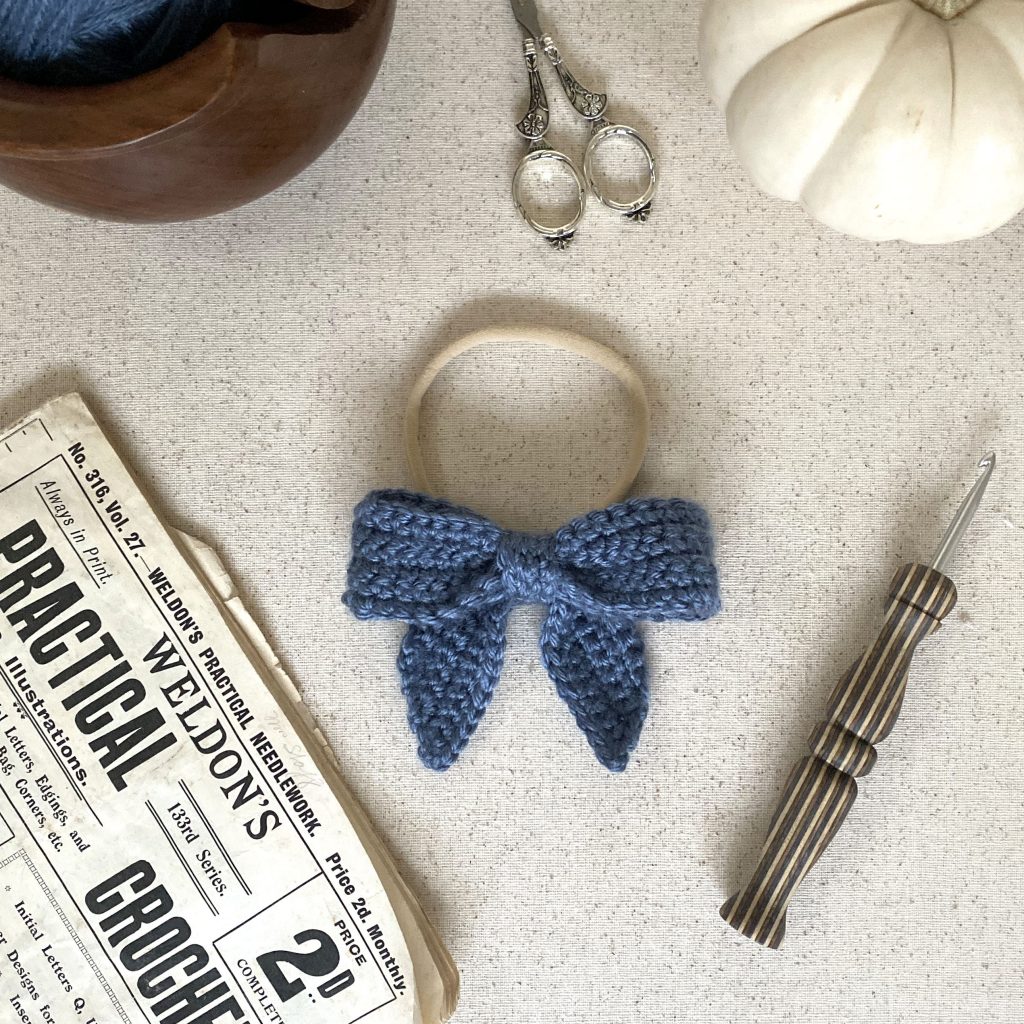
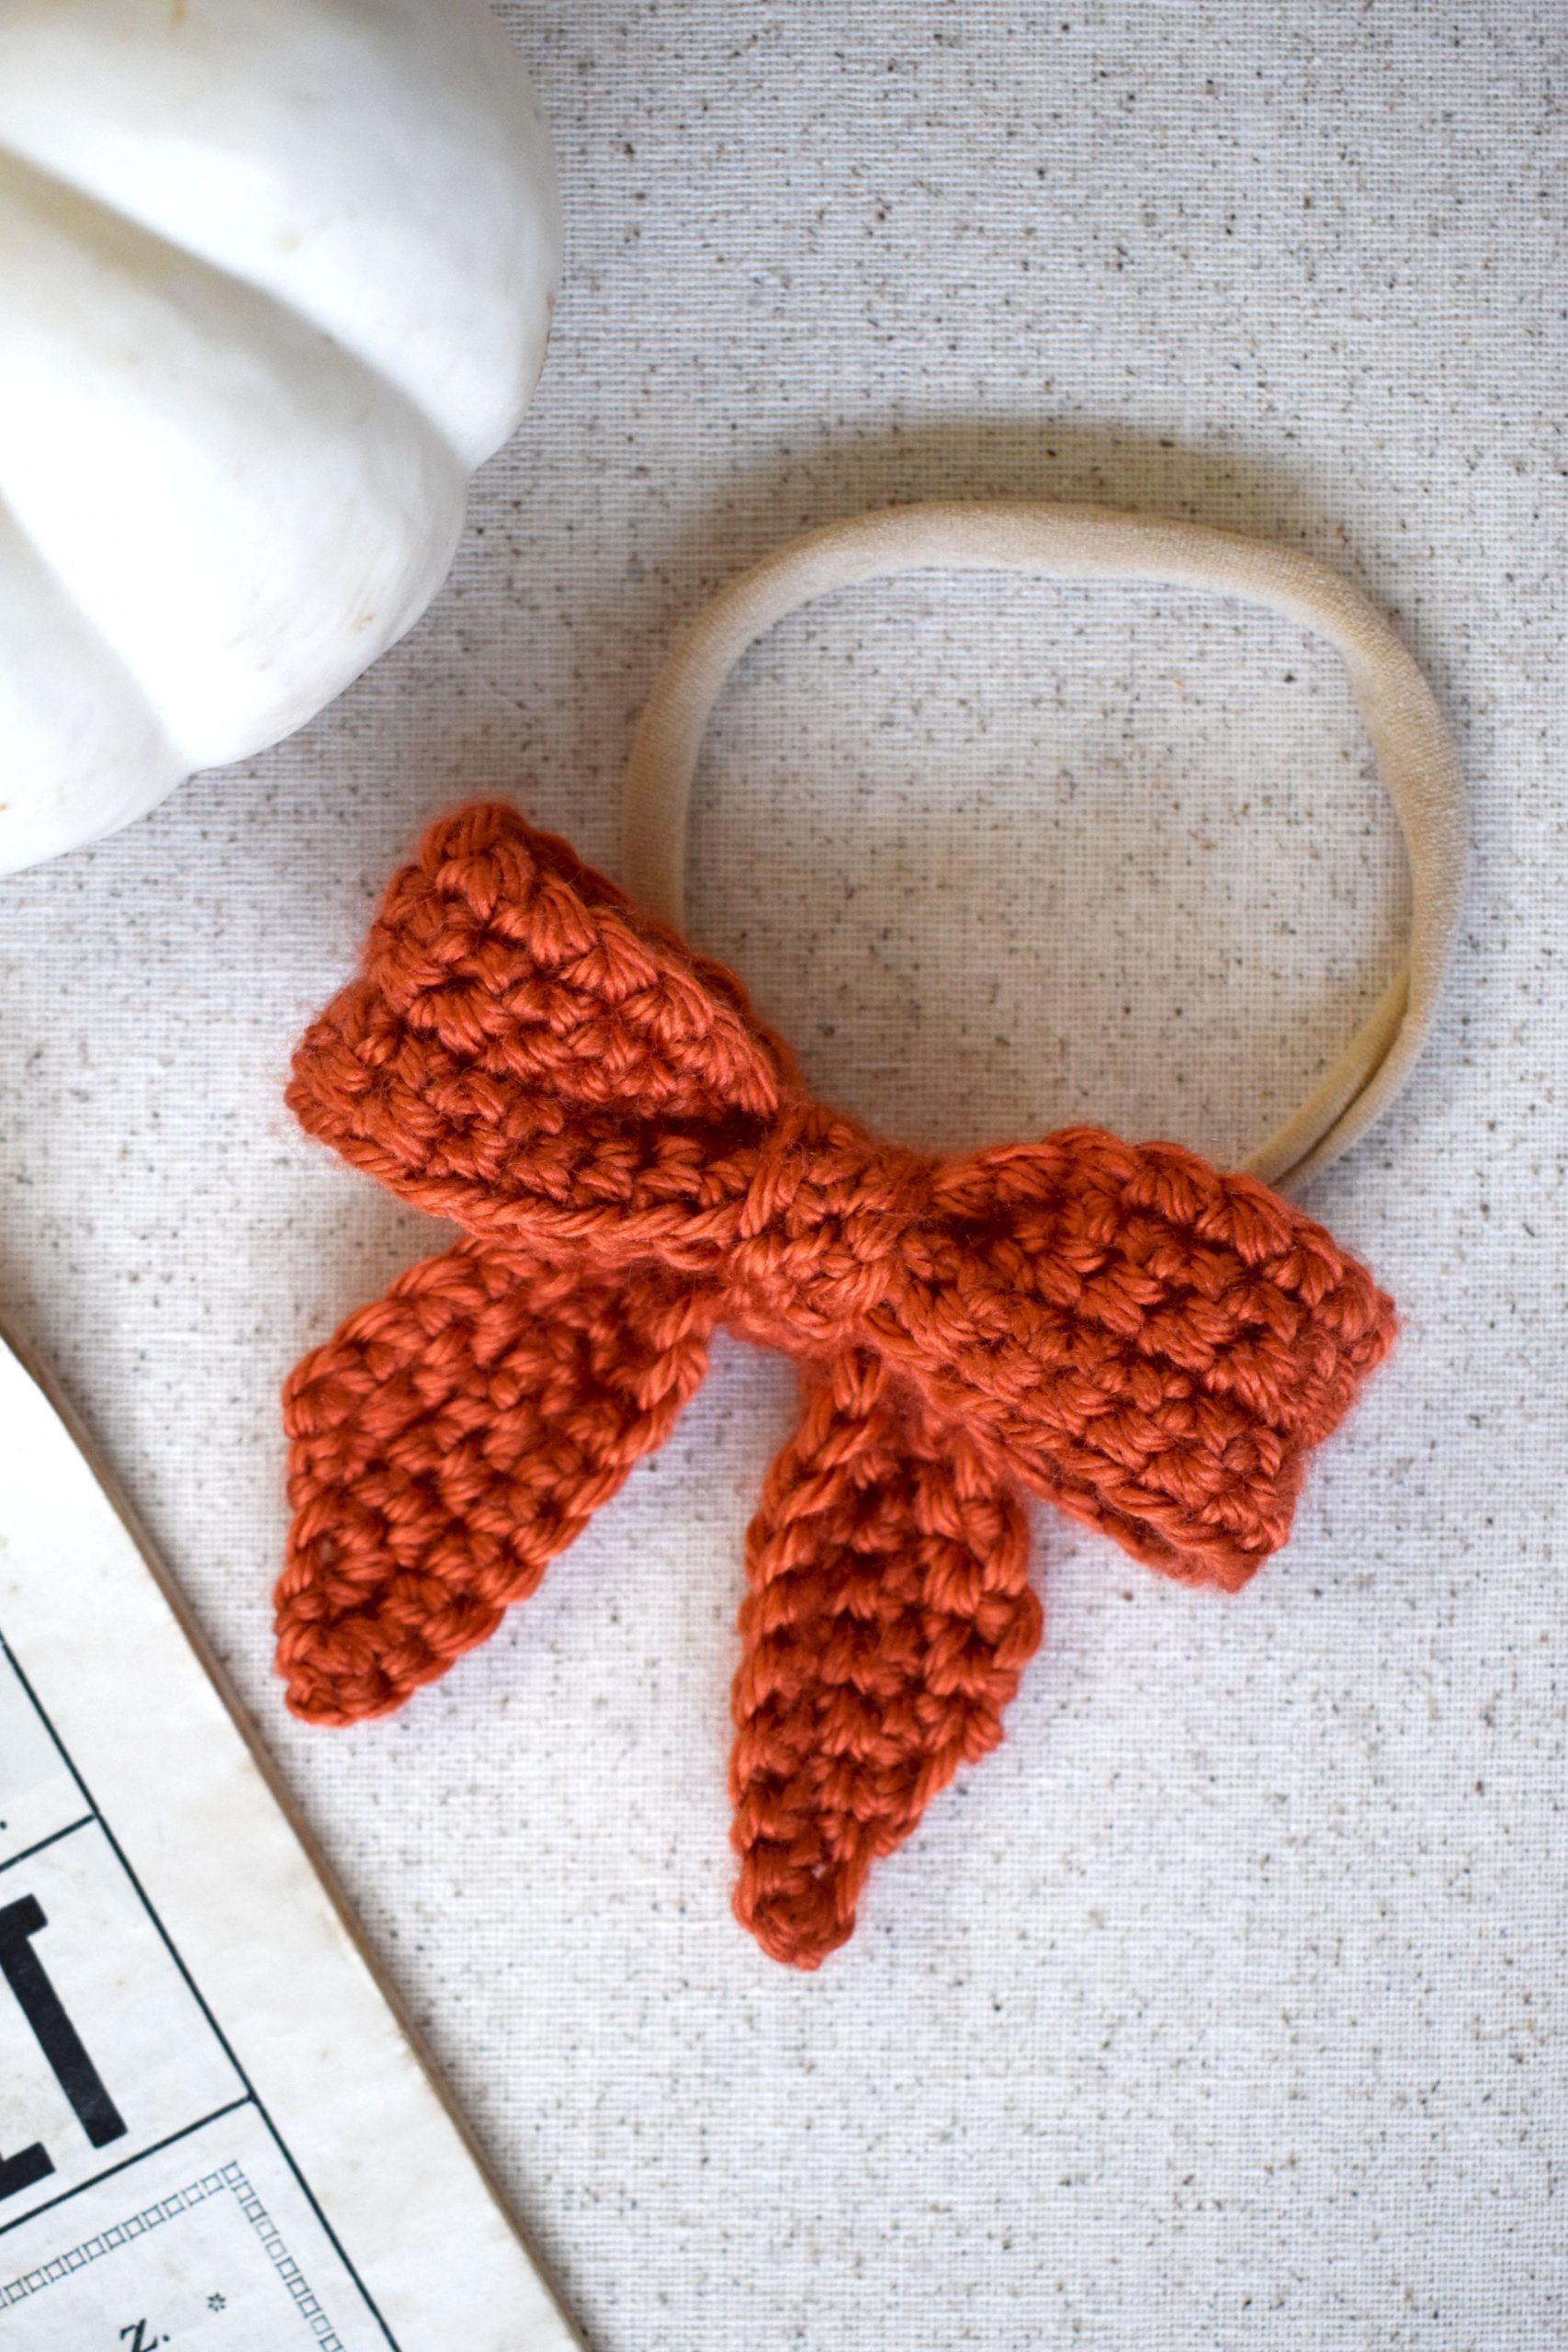
Turn the bow back to the front and shape the body & tails as in the photo below.
Be sure to share your bows (and cute babies wearing them!) with me on Instagram at @thewannabegrandma or using #thewannabegrandma!
Note: This post contains some contextual affiliate links. If you purchase any supplies through these links, The Wannabe Grandma receives a small commission. We only include links to products that we truly use and stand behind. Your purchases through our links allow us to continue to bring you great projects and contribute 10% of our proceeds to organizations that help children and youth living in foster care.
3 comments found