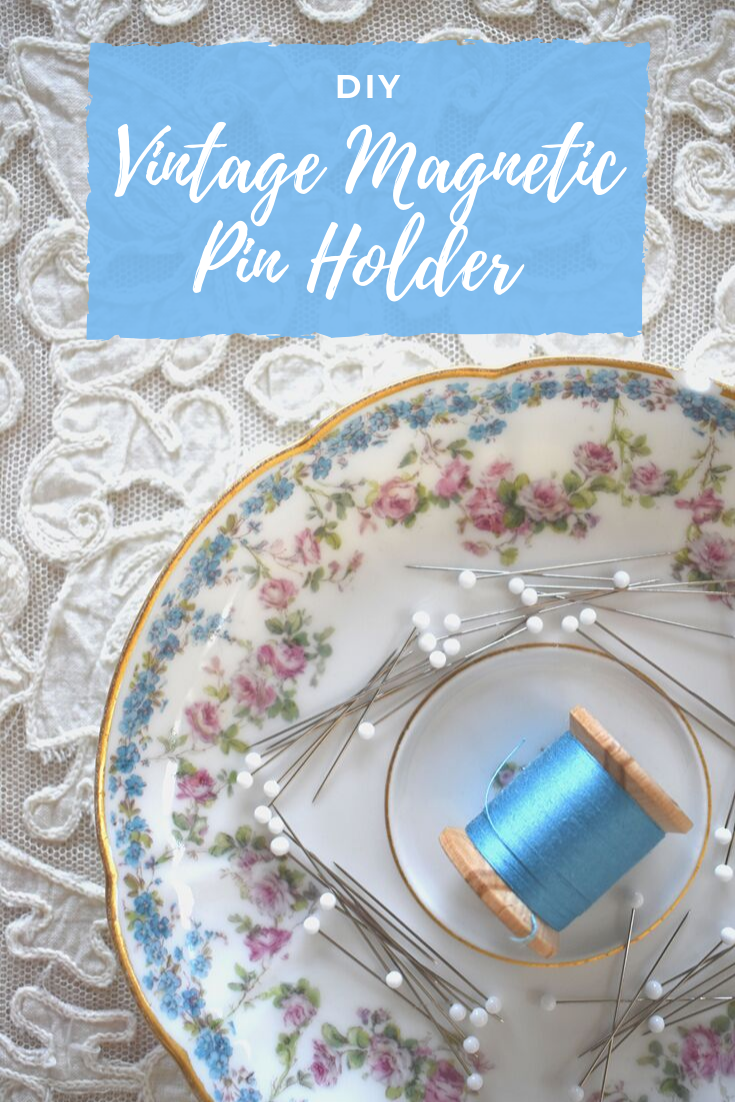
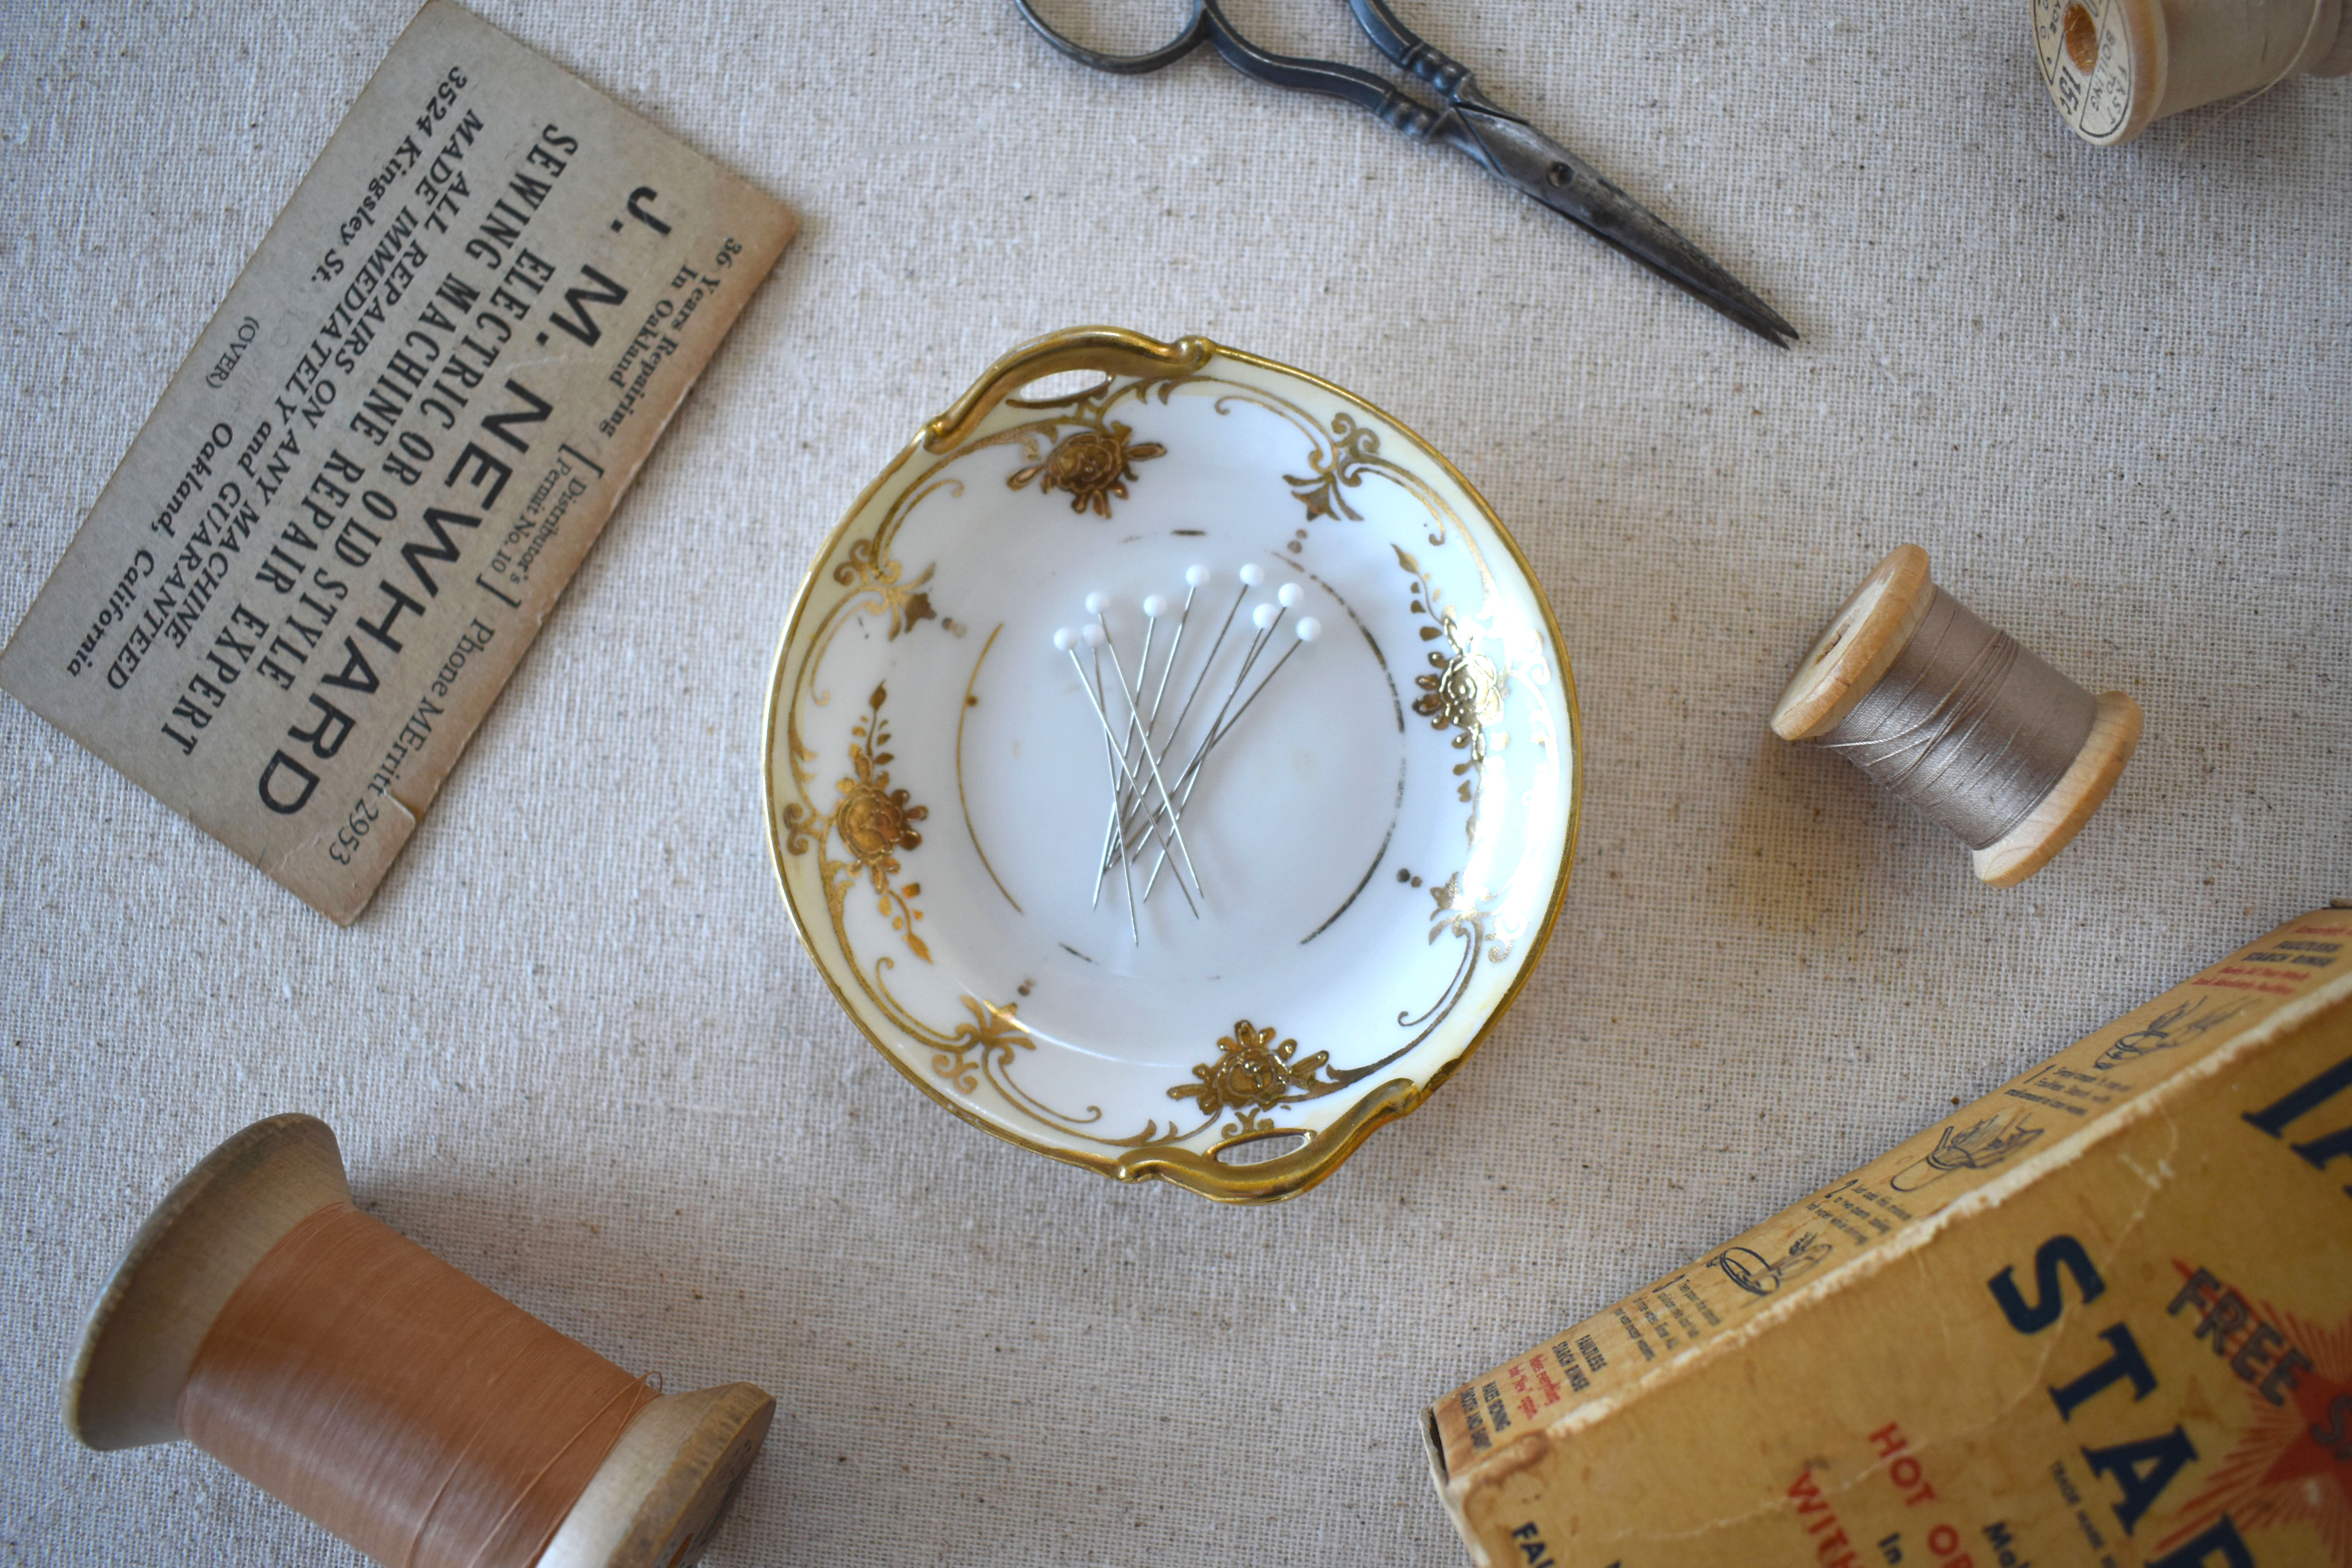
DIY Vintage Magnetic Pin Holder
I am not a tidy crafter. I am also not a particularly coordinated crafter. I’ve knocked a container of pins onto the ground more times than I care to admit. And trust me, the only thing worse than legos hiding in a shag rug is sewing pins hiding in that same rug. To save my feet, I started using a popular plastic magnetic pin holder.
I prefer a magnetic holder to a traditional pin cushion, because it makes my workflow so much faster. I can just drop the pins down as I sew without having to worry about making sure they’re going the right direction and sufficiently stuck into a cushion. While I loved the functionality of that pin holder, I wasn’t particularly jazzed about it’s bland, plastic, oval form. Being the vintage hoarder that I am, I decided to glue some magnets to the bottom of some of my favorite antique saucers and butter pats. Within minutes, I had just as functional but much more beautiful pin holders.
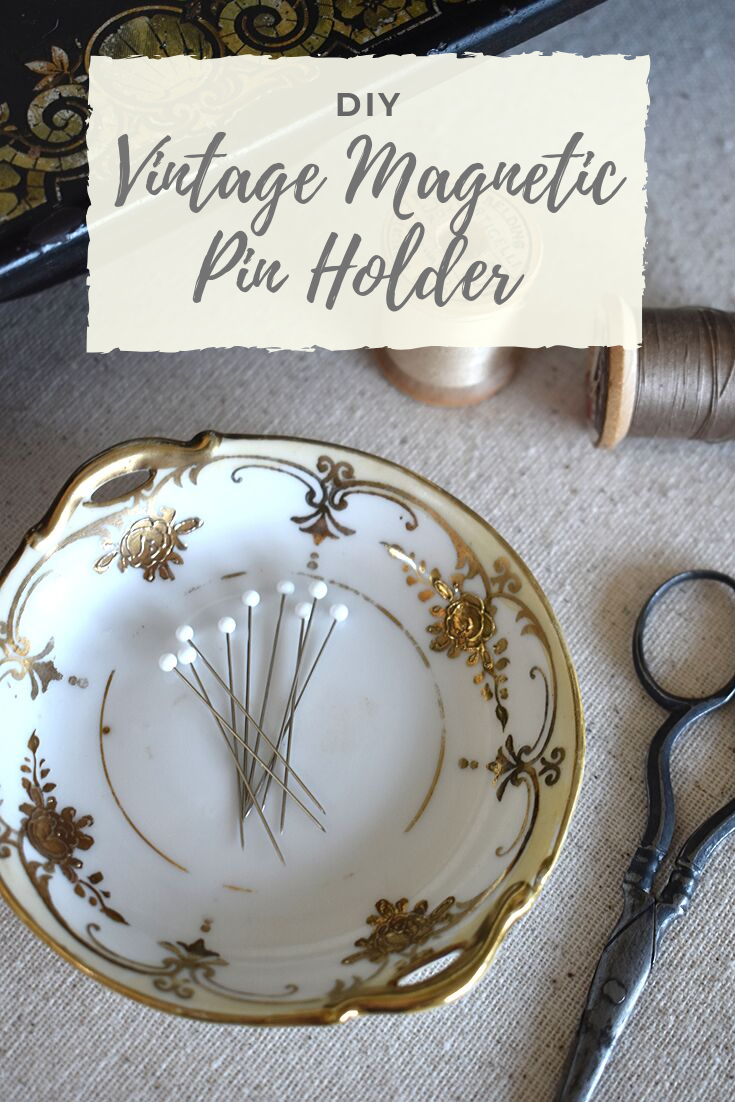
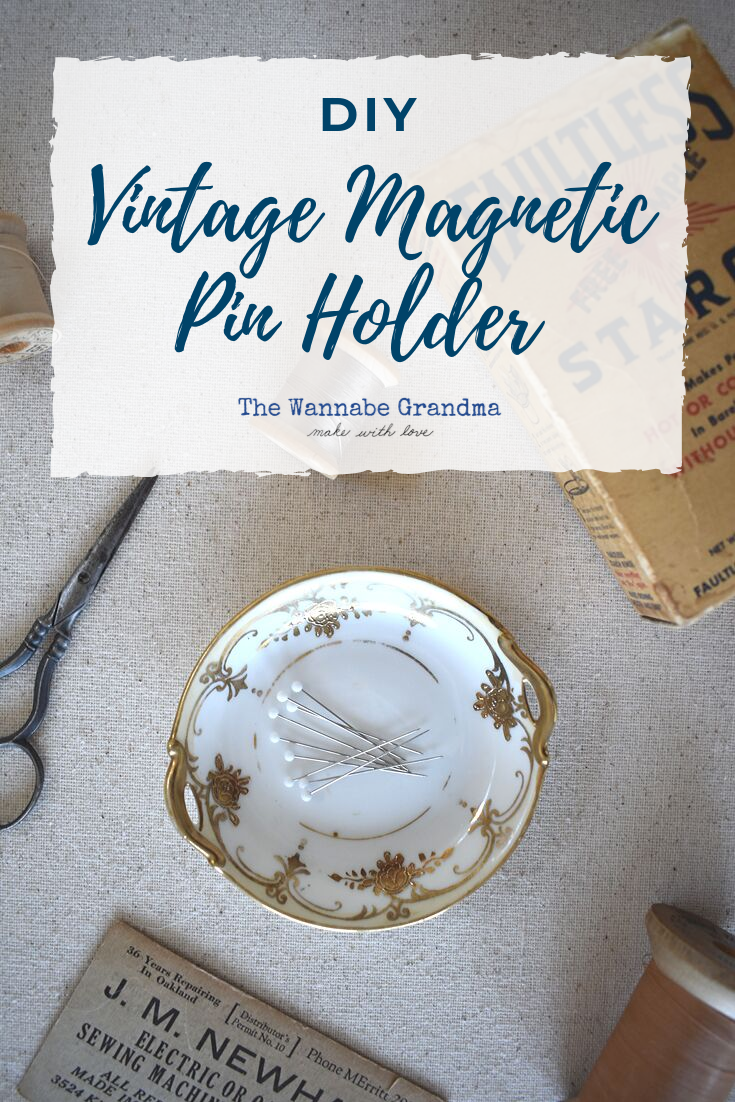
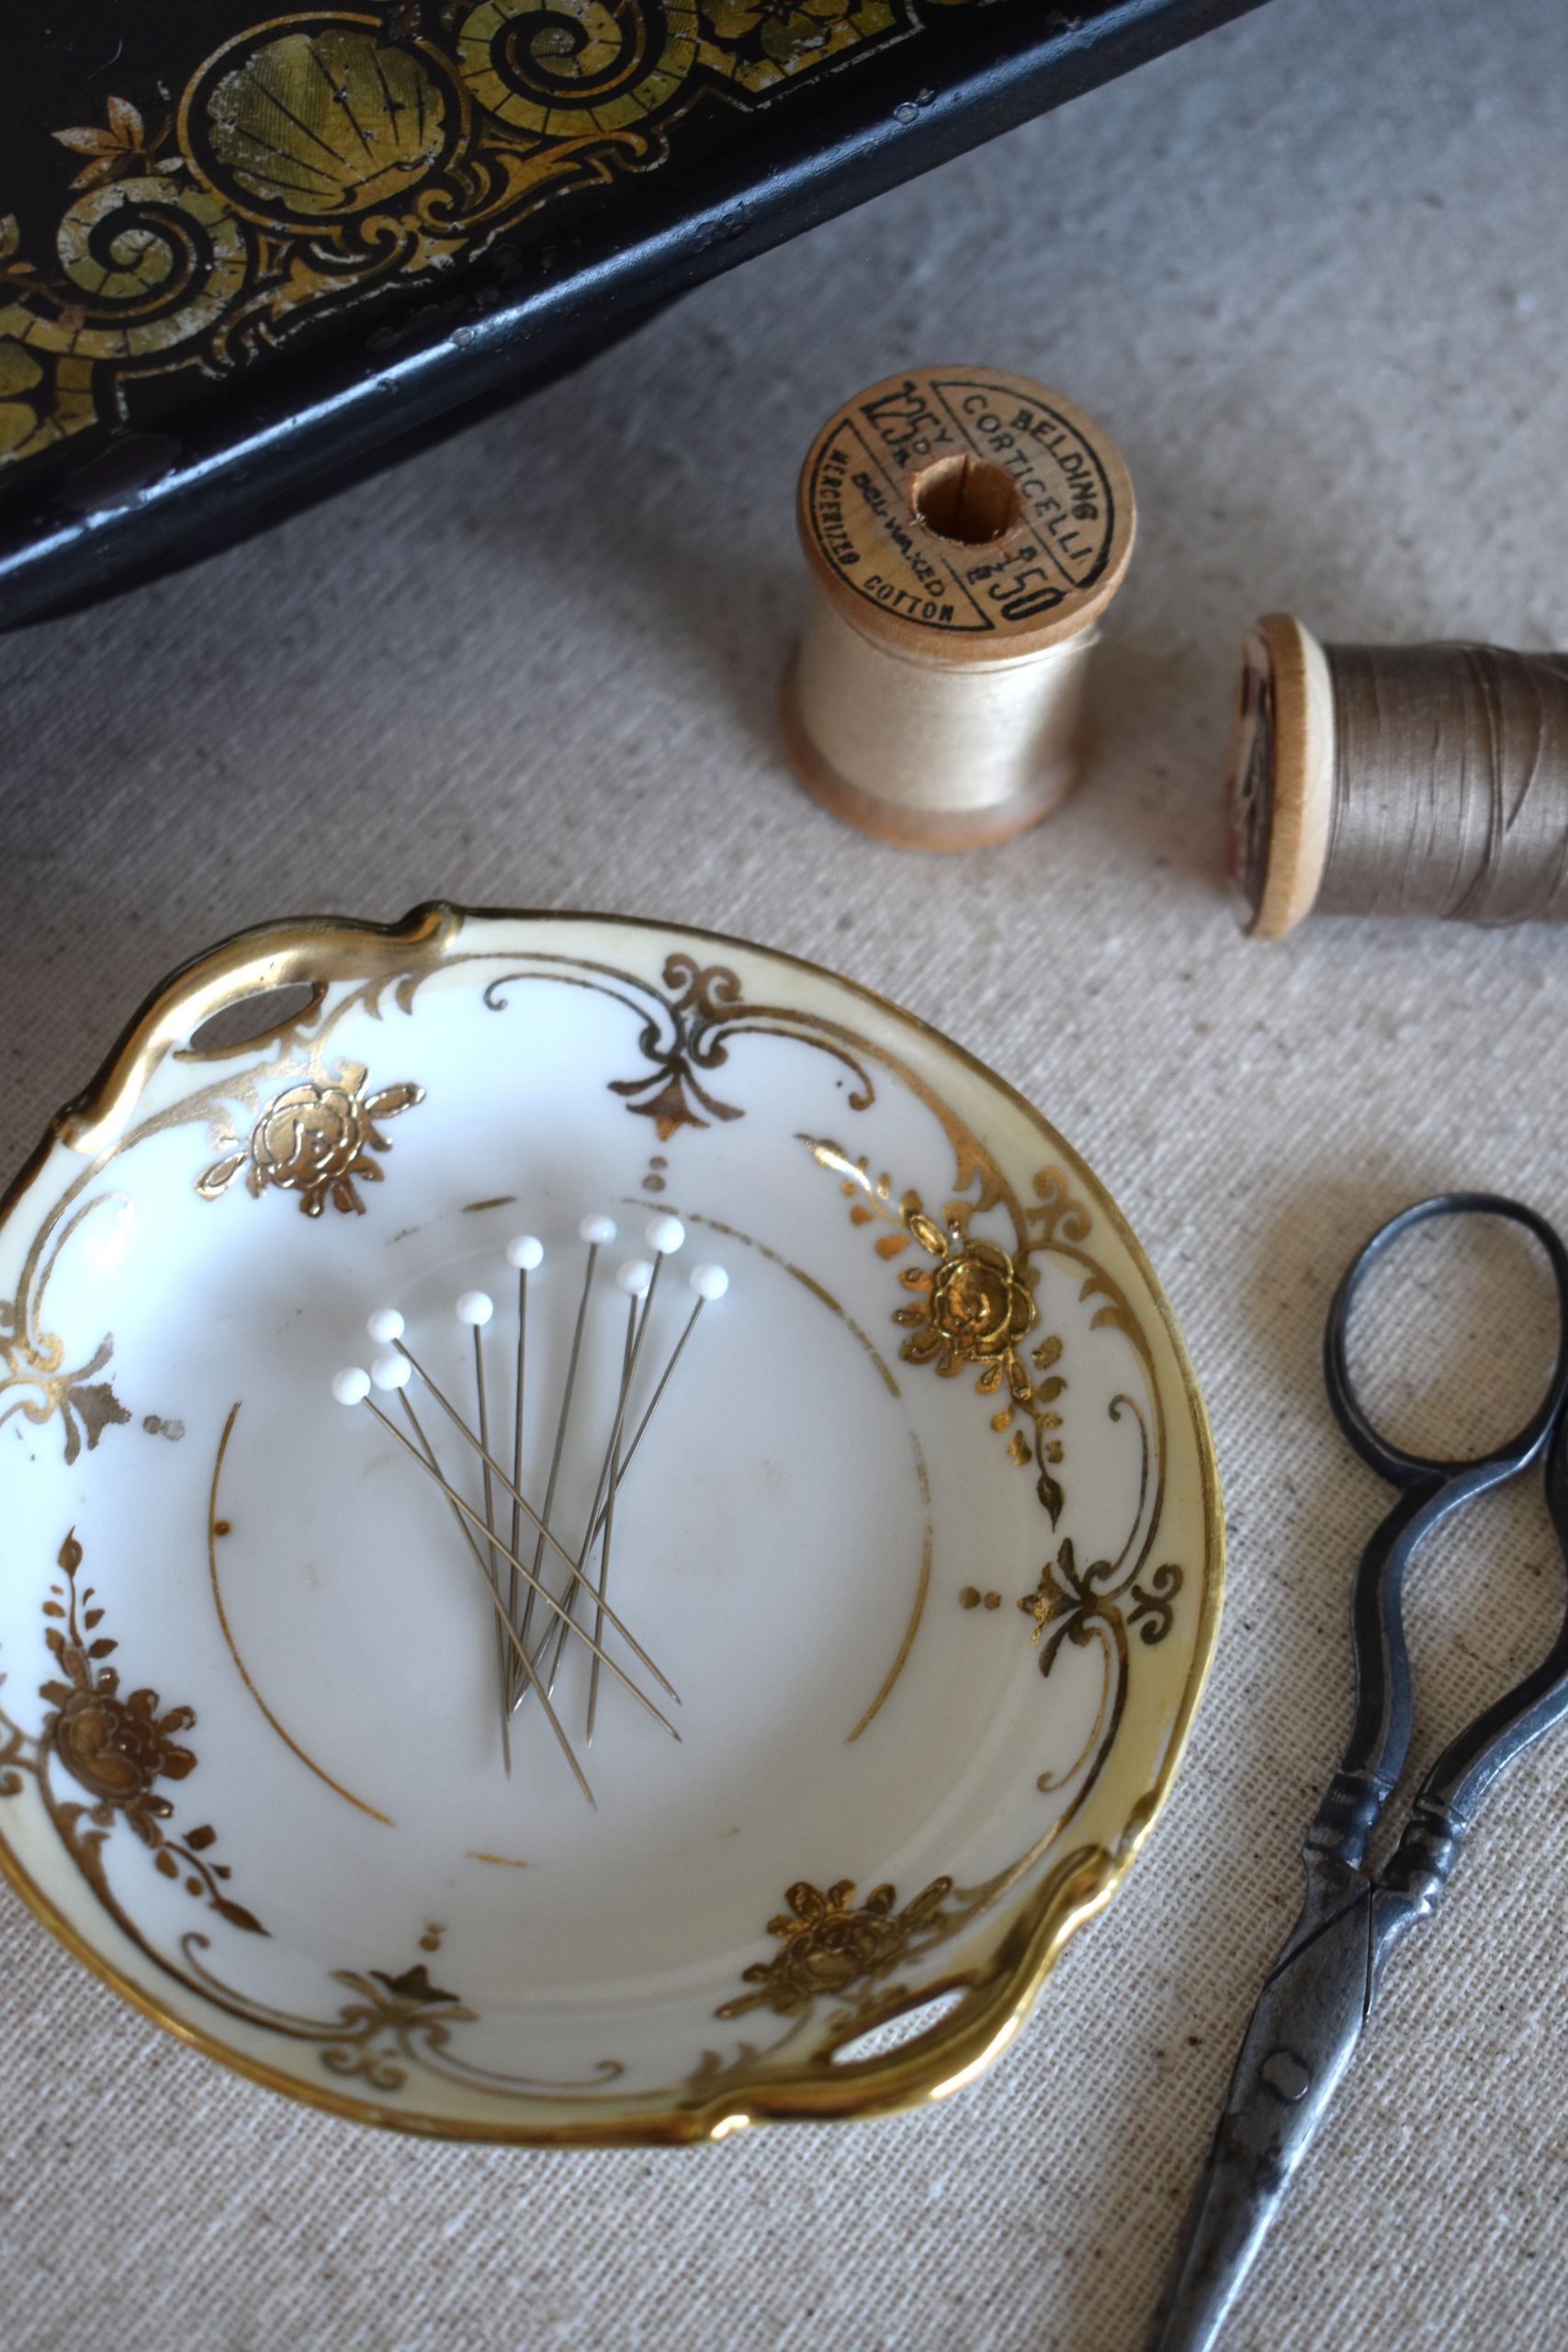
This easy DIY makes the perfect gift for any seamstress or quilter in your life. Most antique stores or flea markets have lots of beautiful plate options at affordable prices (typically $10 or less). I recommend using a butter pat or an orphaned saucer or cake plate. When choosing your plate, be sure that its bottom is not completely flush with the tabletop. You need a plate with a bottom lip deep enough for you to attach the magnets. The magnets I used were 0.187 inches thick and fit well under most plates in my vintage stash.
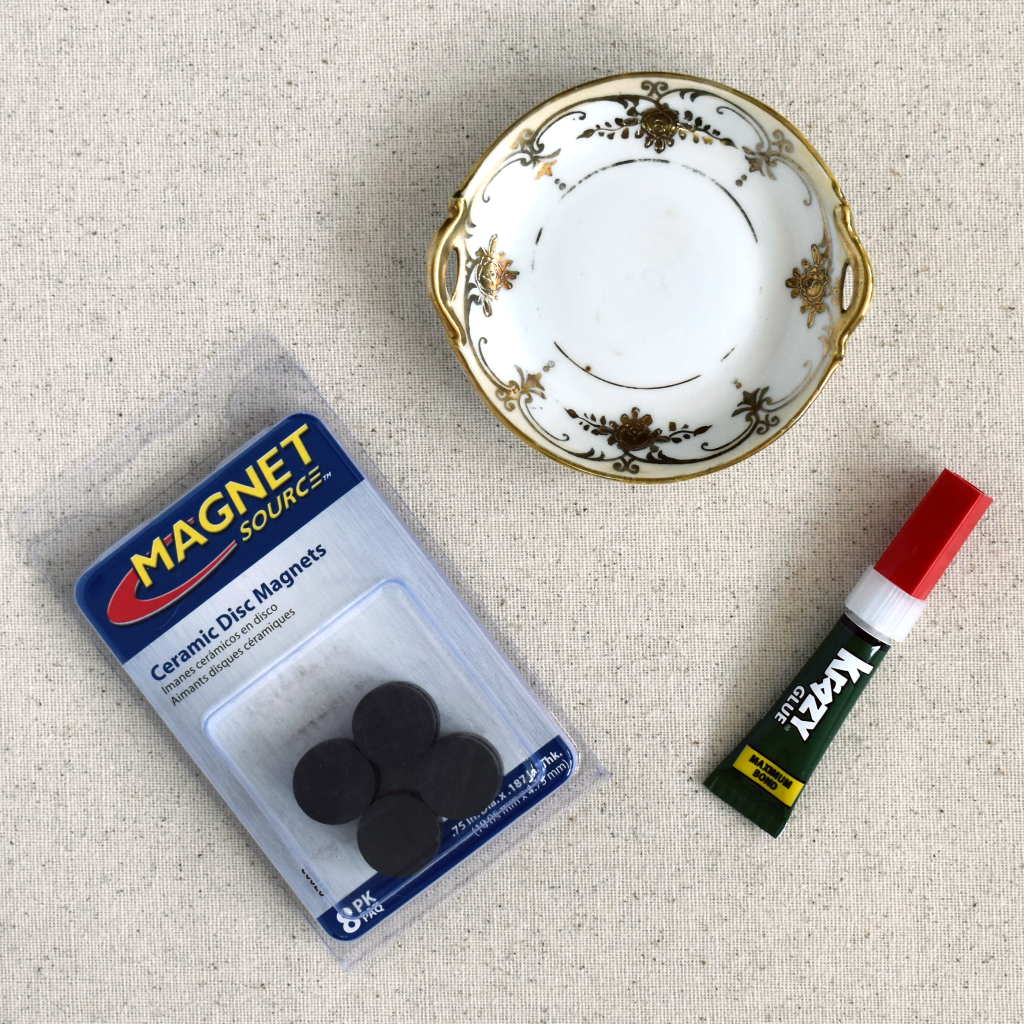
For this project, you’ll need:
- A vintage cake plate, saucer, or butter pat
- Super Glue
- Ceramic Disk Magnets
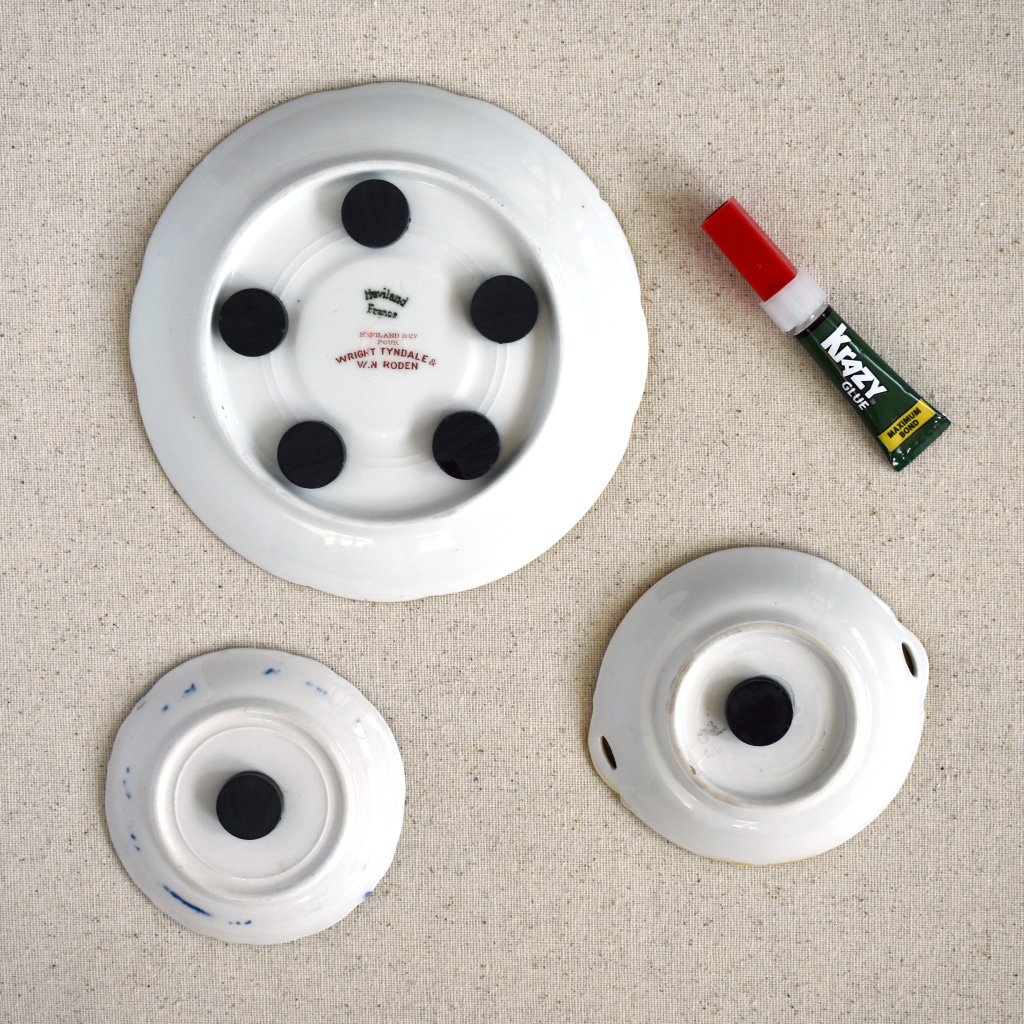
1. First, place your plate right side up with magnets underneath it in order to ensure that it will not wobble once the magnets are attached. If the plate does not sit flush with your tabletop, rearrange the magnets until it does. If your plate is large enough that you’d like to use more than 1 magnet, make sure you space them sufficiently far from one another so that they don’t go rogue and stick together during the gluing process.
2. Next, place a small dot of super glue on the bottom of the plate. Secure the magnet to the glue and hold firmly for about 10 seconds. Repeat this process for each magnet that you plan to use. Allow to dry for about an hour.
3. Sew your heart out with your beautiful new pin holder!
Be sure to share your vintage plate finds with me on Instagram at @thewannabegrandma or using #thewannabegrandma!
Note: This post contains some contextual affiliate links. If you purchase any supplies through these links, The Wannabe Grandma receives a small commission. We only include links to products that we truly use and stand behind. Your purchases through our links allow us to continue to bring you great projects and contribute 10% of our proceeds to organizations that help children and youth living in foster care.