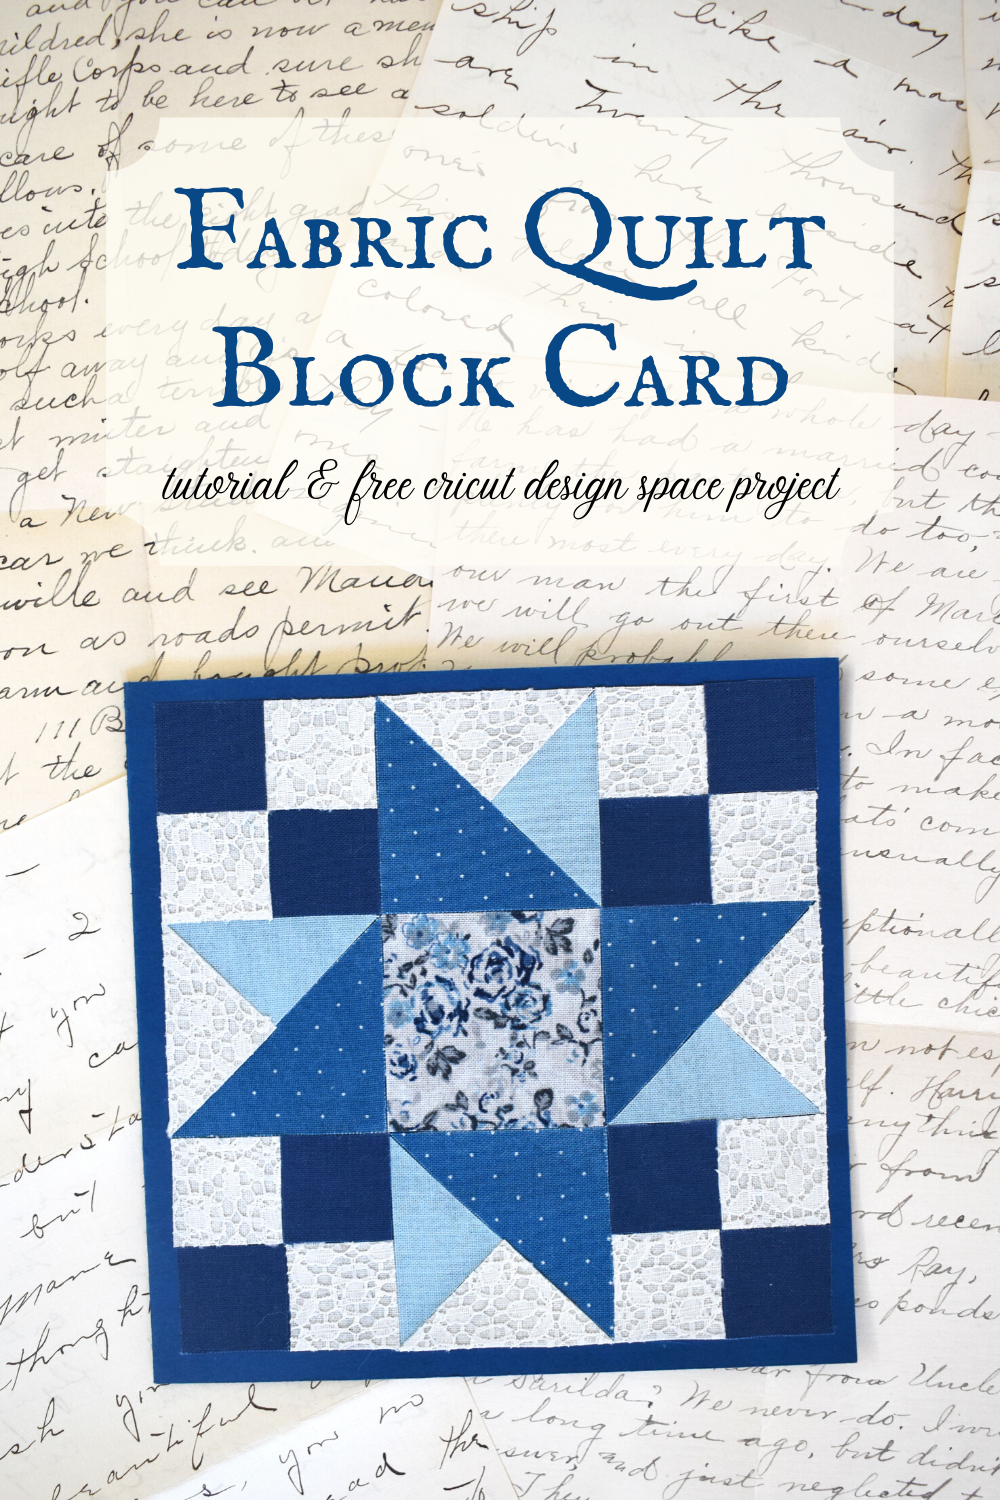
Fabric Quilt Block Card with Cricut
I had so much fun making Ohio Star Quilt Valentines this year, I just had to make more fabric quilt block cards. I’m sure the quilters in your life would love them for any occasion – birthdays, Mother’s Day, or just because. You can add a sentiment to the front or leave it as is. I couldn’t bring myself to cover up part of the block!
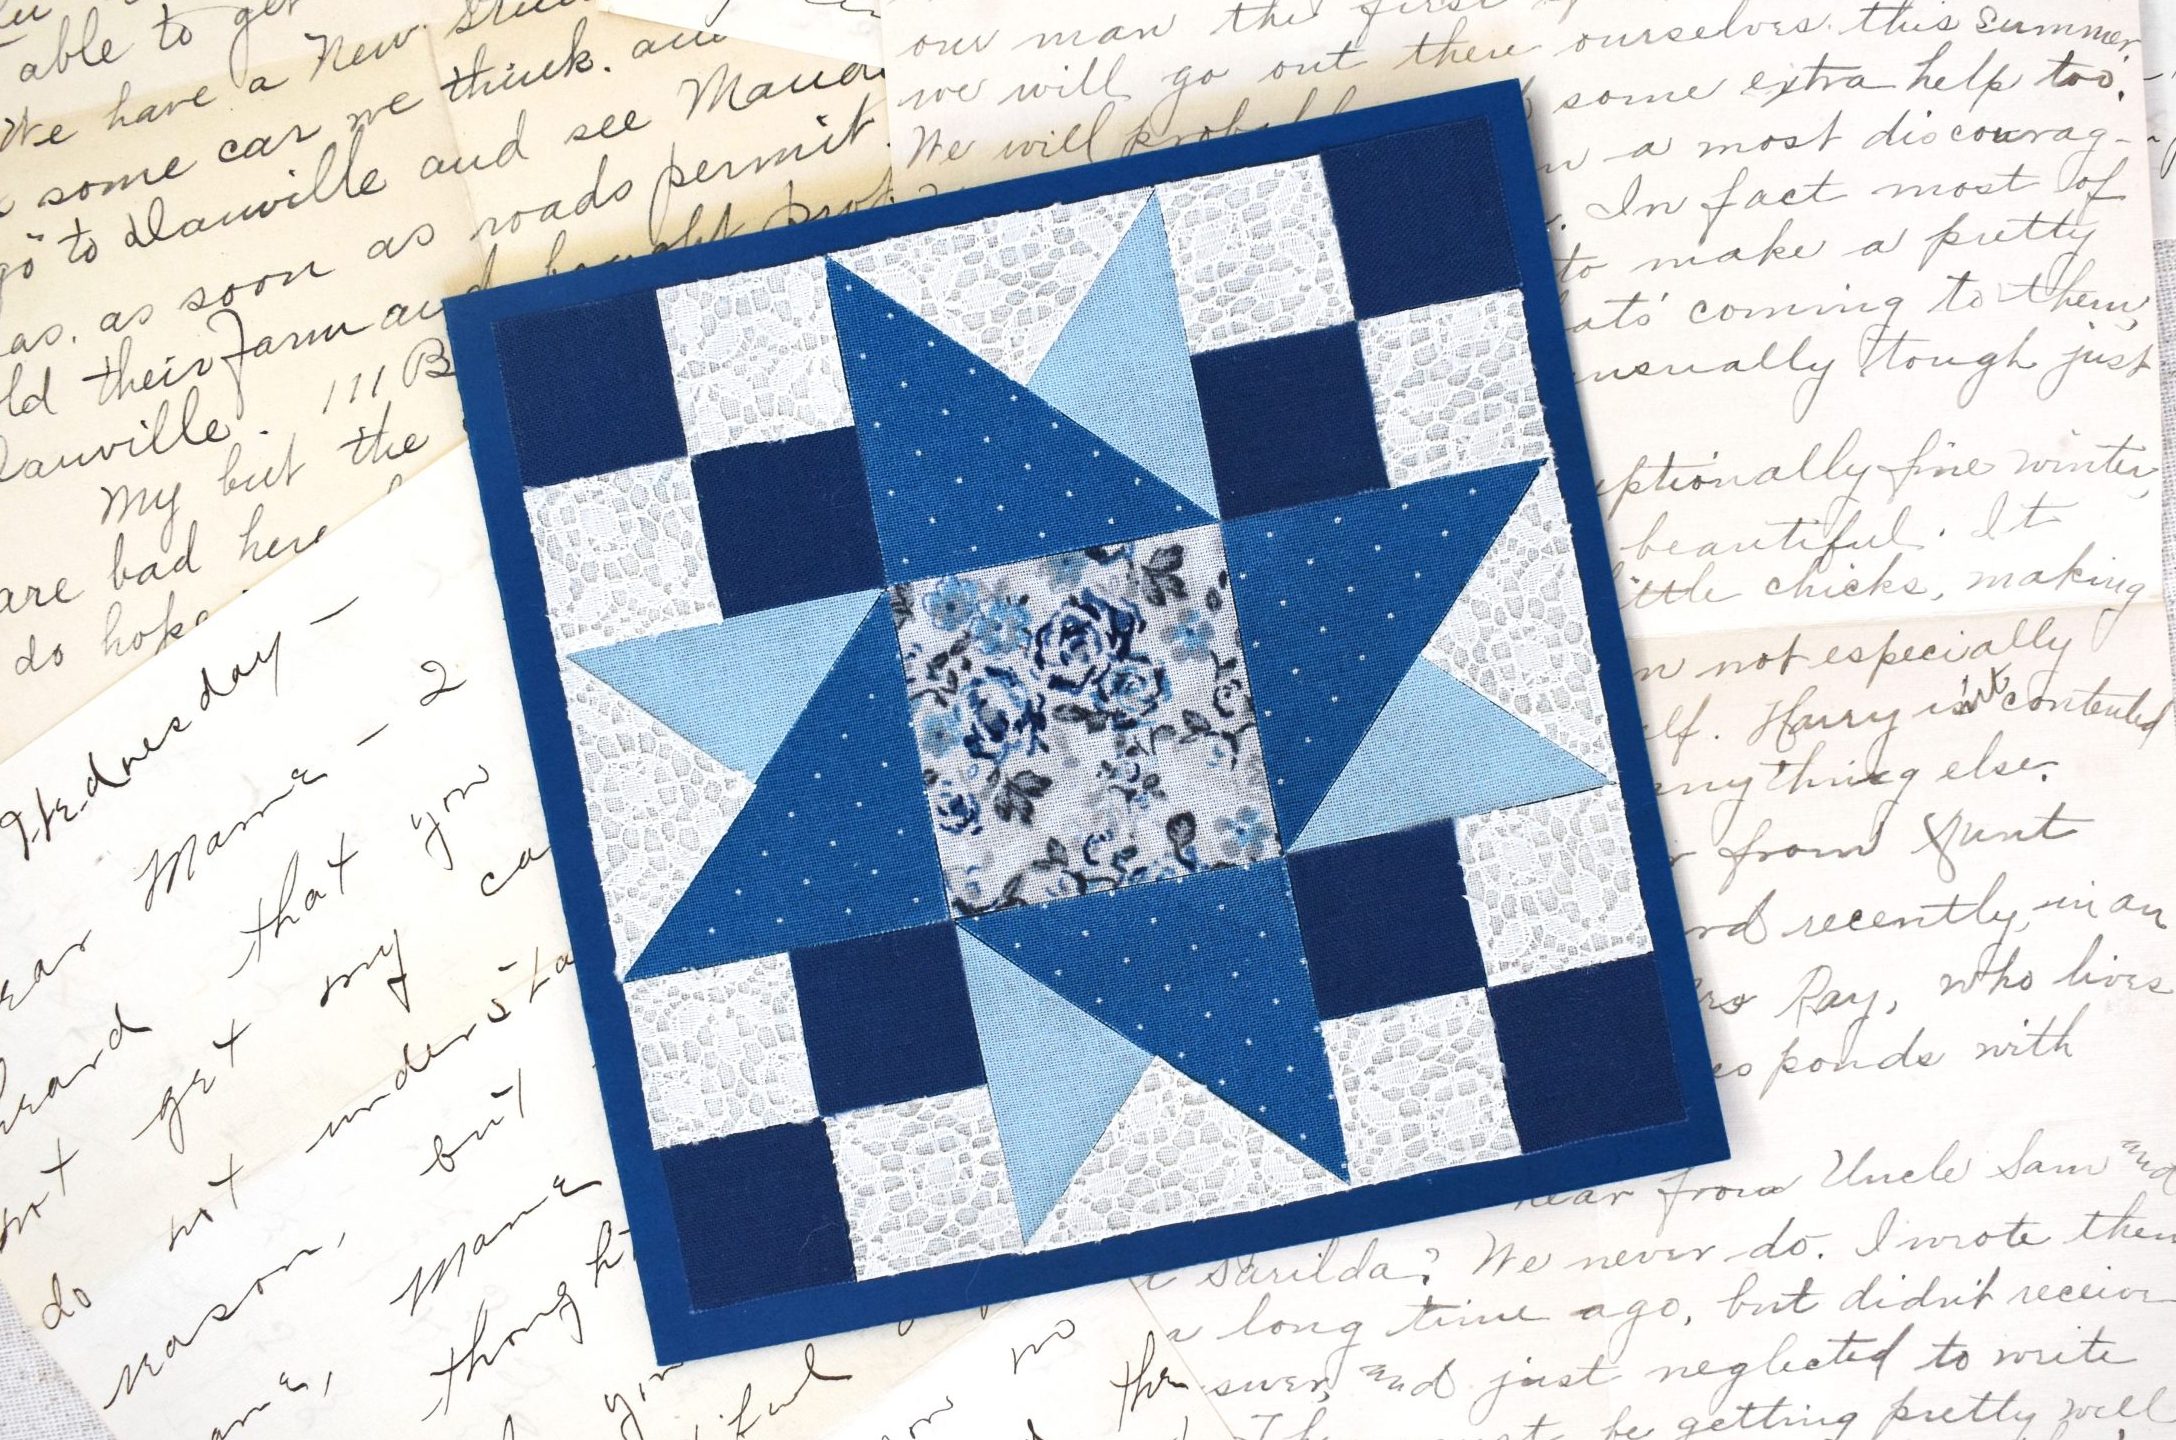
This variation of the Ohio Star block is a bit more intricate and uses 5 fabrics. You can personalize it by using fewer or even more fabrics if you’d like. Making quilt cards requires much less an investment of time and fabric than making a quilt, and I take that as tacit permission to try fabric combinations that I’m less sure about on the drawing board. Some have been flops but others have really surprised me and given me the confidence to be a more daring quilter.
CLICK HERE TO ACCESS MY FREE CRICUT DESIGN SPACE PROJECT
NOTE: Many of the photos I use in this tutorial are for my Ohio Star Quilt Valentine. The block in this project is a bit different, but the steps are all the same.
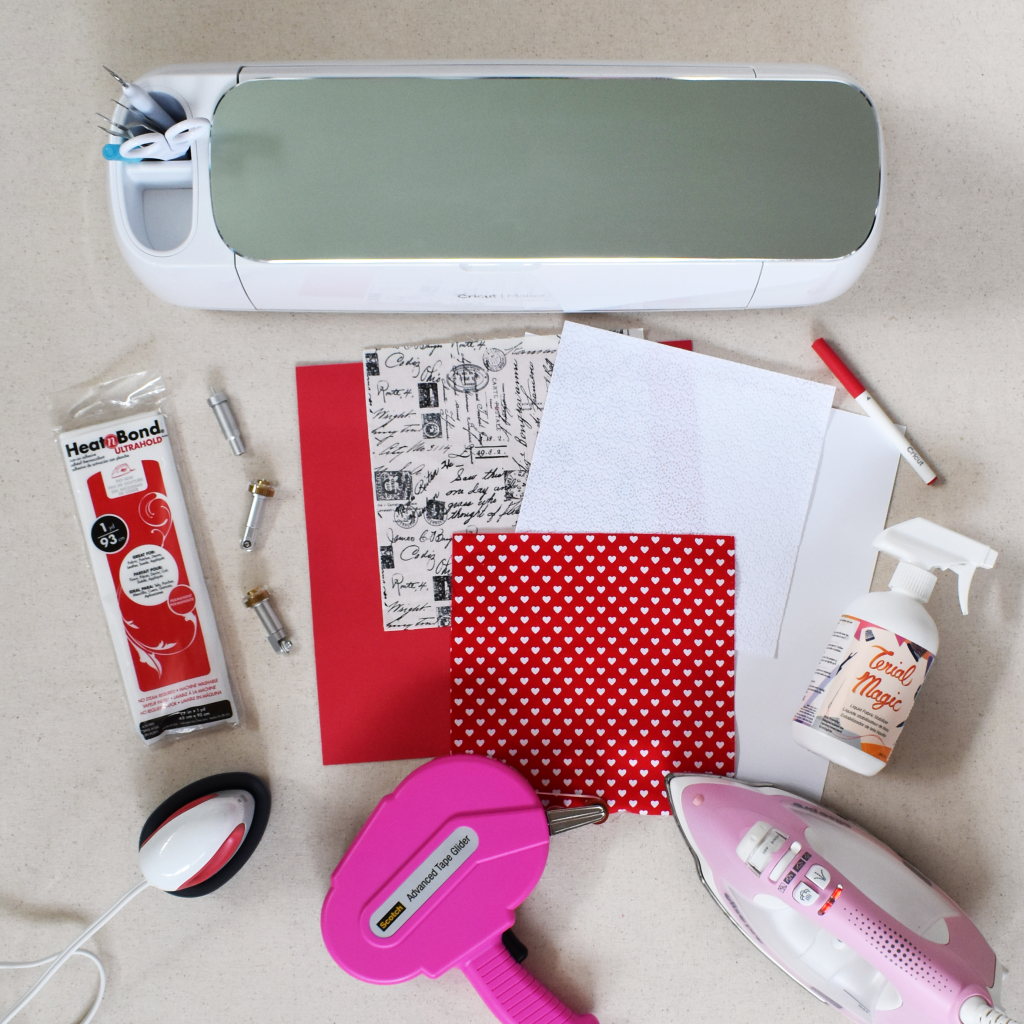
To make this card, you’ll need:
- 5 pieces of quilting cotton – I recommend using at least a 6-inch square. I prefer to use a larger square and cut extras so I can choose my favorites.
- Terial Magic Fabric Stabilizer
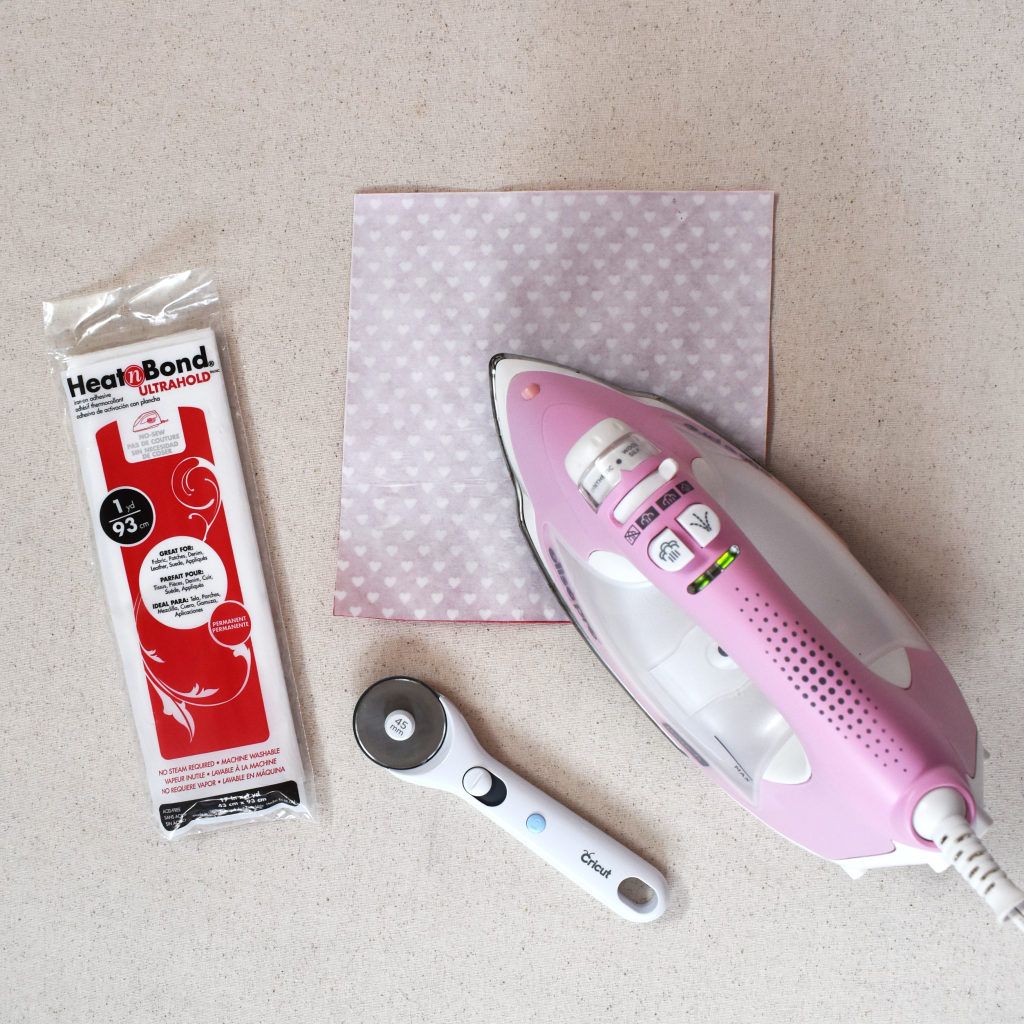
- HeatnBond Ultrahold
- Iron (I like the Oliso Pro Smart Iron)
- Fabric scissors and/or rotary cutter
- Cricut Maker with Fine Point Blade, Scoring Wheel, & Rotary Blade
- Cricut FabricGrip & LightGrip Mats
- Cricut Brayer
- Cricut EasyPress Mini
- 1 piece of 12″ by 12″ colored cardstock
- Cricut 0.4 Tip pen in a shade slightly darker than your cardstock
- 1 piece of 12″ by 12″ white cardstock
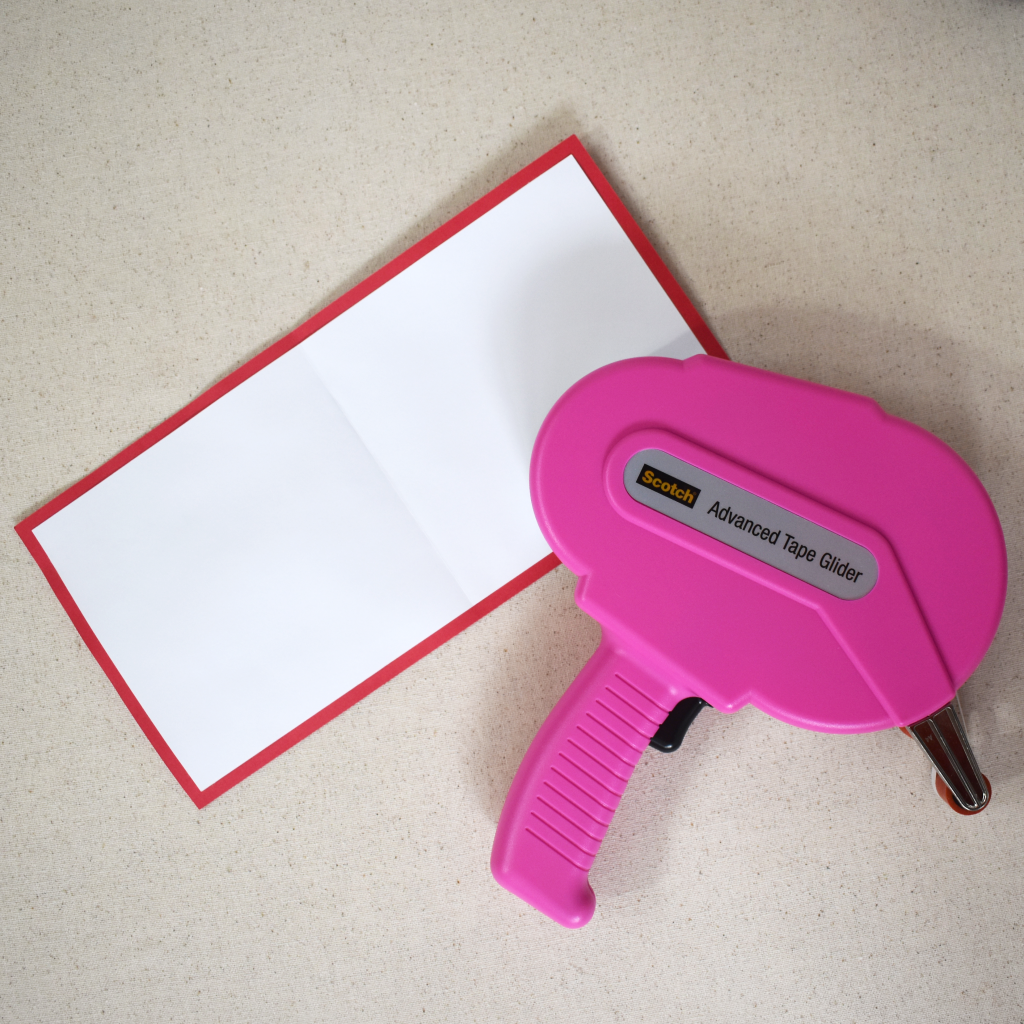
- Adhesive (I like the Advanced Tape Glider)
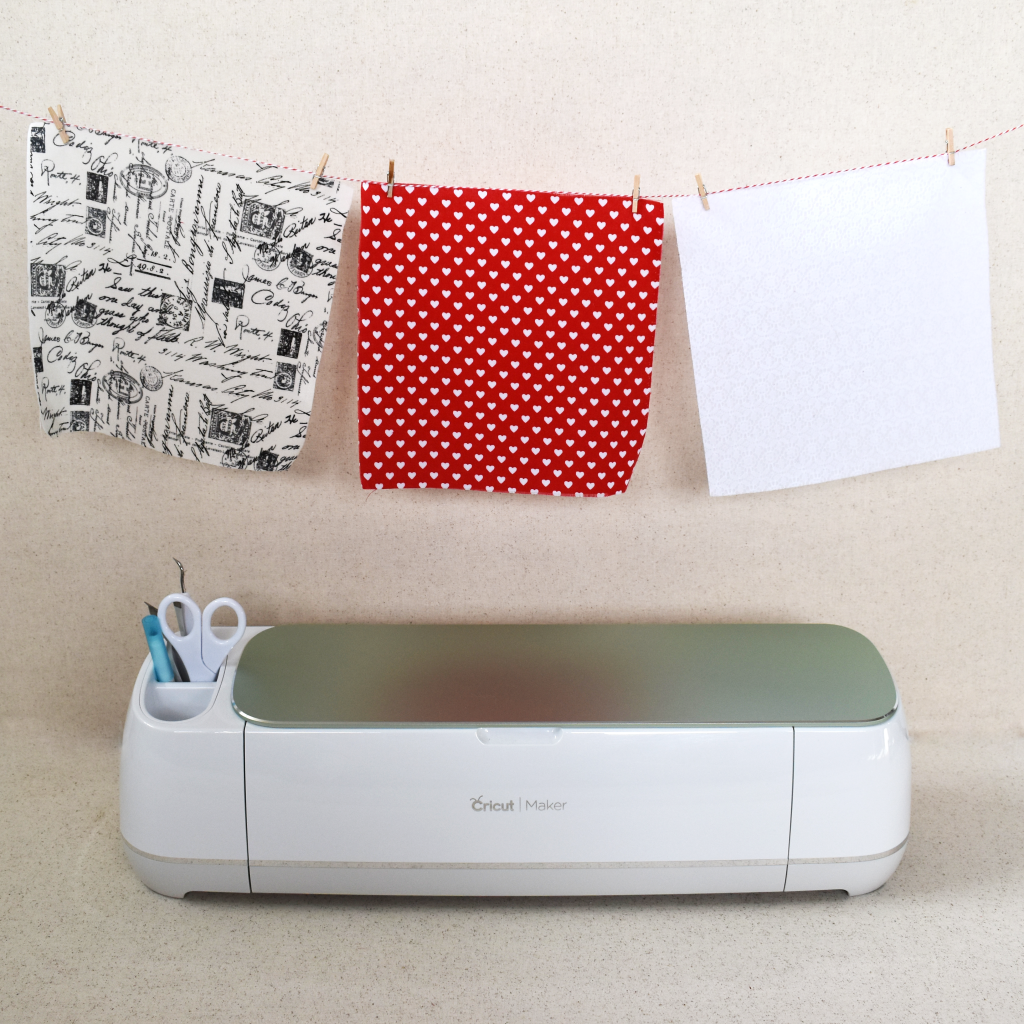
1. Spray your fabric with Terial Magic. I like to use a plastic bag as a base so I don’t make a mess. Hold your fabric up to a light source to be sure you didn’t miss any spots. Allow your fabric to line dry for about 10 to 15 minutes. Using a press cloth, iron your fabric dry.
2. Place your fabric right side down onto your ironing board or mat. Turn your iron onto medium heat and turn off steam. Cut a piece of HeatnBond to be slightly smaller than your fabric. Place the HeatnBond with paper side up onto your fabric. Press and hold your iron on each portion of your fabric for about 2 seconds. Once it has cooled, remove the paper liner. Trim the edges of your fabric so that the edges align with the edges of your HeatnBond.
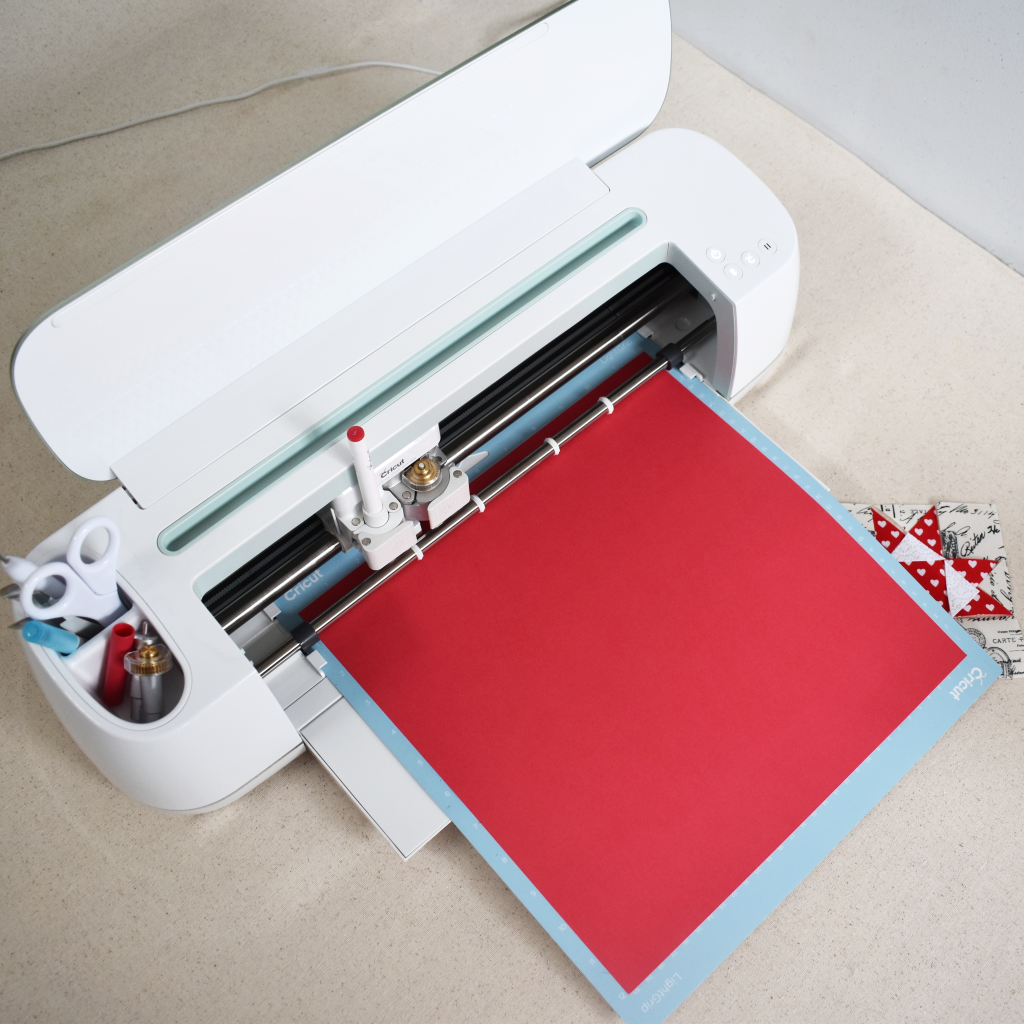
3. Access my Cricut Design Space file here. If you are using directional fabric, be sure to attach all of the pieces of the color that is directional. Place your fabric right side down onto your FabricGrip Mat. Use your brayer to ensure that the fabric is adhered well. Turn the mirror option on. Be sure you choose a material size that corresponds to the piece of fabric you’re using. Cut the fabric using your rotary blade and the “Medium fabrics (like cotton), bonded” setting. I like to set the pressure to “More.” Note: Your machine may prompt you to use the bonded fabric blade instead of the rotary blade. If it does this, you can click on the “Choose another tool” option and select the rotary blade.

5. Gently remove your fabric pieces from your mat. Arrange them on your workspace in the Ohio Star design. Repeat steps 4-5 for the remaining 4 colors of fabric.
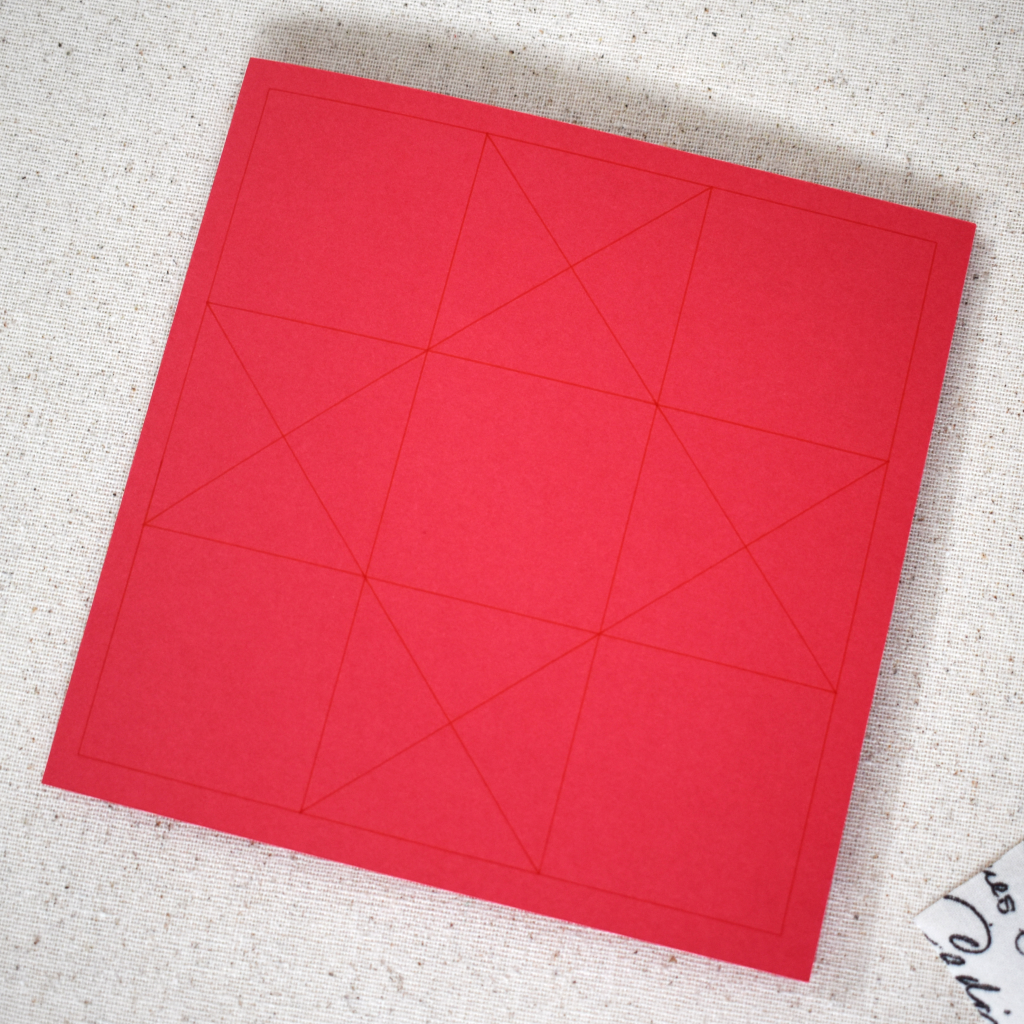
6. Place your 12″ by 12″ piece of colored cardstock onto your LightGrip Mat. Be sure to use thick cardstock so that it does not warp during the assembly process. Load your Cricut with your Scoring Wheel and a 0.4 Tip Cricut pen that is similar in color but slightly darker than your cardstock. This will ensure that it does not show after the card is assembled. Use a cardstock setting of your choice. After it is done scoring and drawing, your machine will prompt you to load your Fine Point Blade.
7. Remove your card from the mat by flipping it upside down and gently bending the mat away from the cardstock. Fold the card along the scored line. Repeat steps 5-6 (with the exception of the drawing element) for your card liner. Do not attach the liner to the card just yet – we will do this last. Attaching the liner after adding the fabric helps the card keep a nice shape. NOTE: The block drawing for this card will be a bit different than the one pictured below. The steps are all the same.
8. Place the middle piece of your fabric onto the card using the guidelines. With your EasyPress Mini set to the middle setting, gently press your fabric onto your card for a few seconds until it is adhered. If you are using an iron, be sure steam is off.

9. Continue to attach your fabric to your card as in step 8, working from the middle outward.

9. Finally, attach the liner to the inside of your card. If your card is still a bit warped after you attach the liner, give it a good, old-fashioned night under some heavy books, and it’ll straighten right out.
Be sure to share your cards with me on Instagram at @thewannabegrandma or using #thewannabegrandma!
Note: This post contains some contextual affiliate links. If you purchase any supplies through these links, The Wannabe Grandma receives a small commission. We only include links to products that we truly use and stand behind. Your purchases through our links allow us to continue to bring you great projects and contribute 10% of our proceeds to organizations that help children and youth living in foster care.