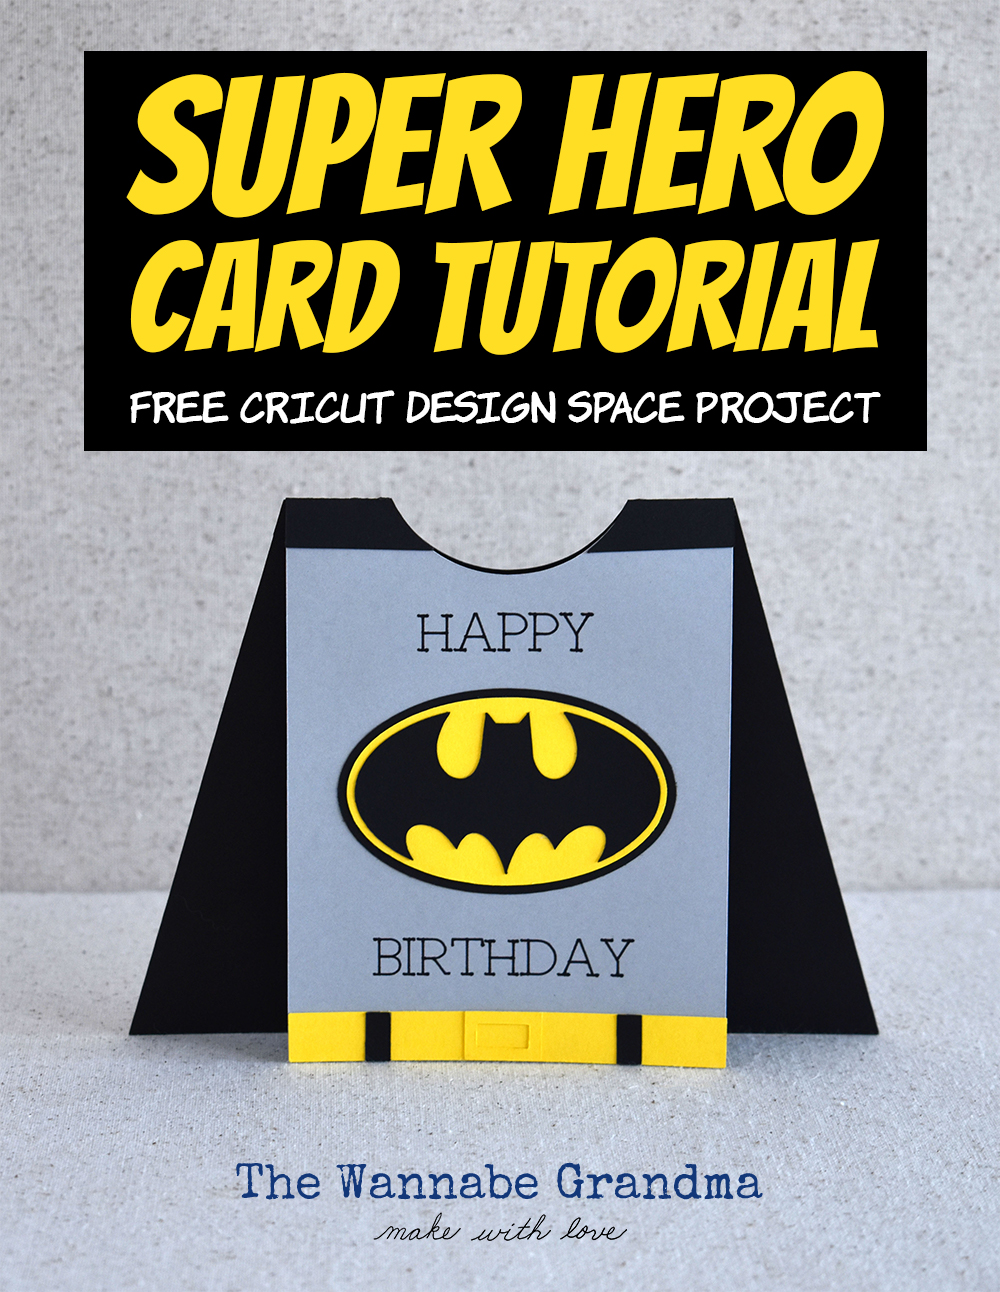
Superhero Card with Cricut
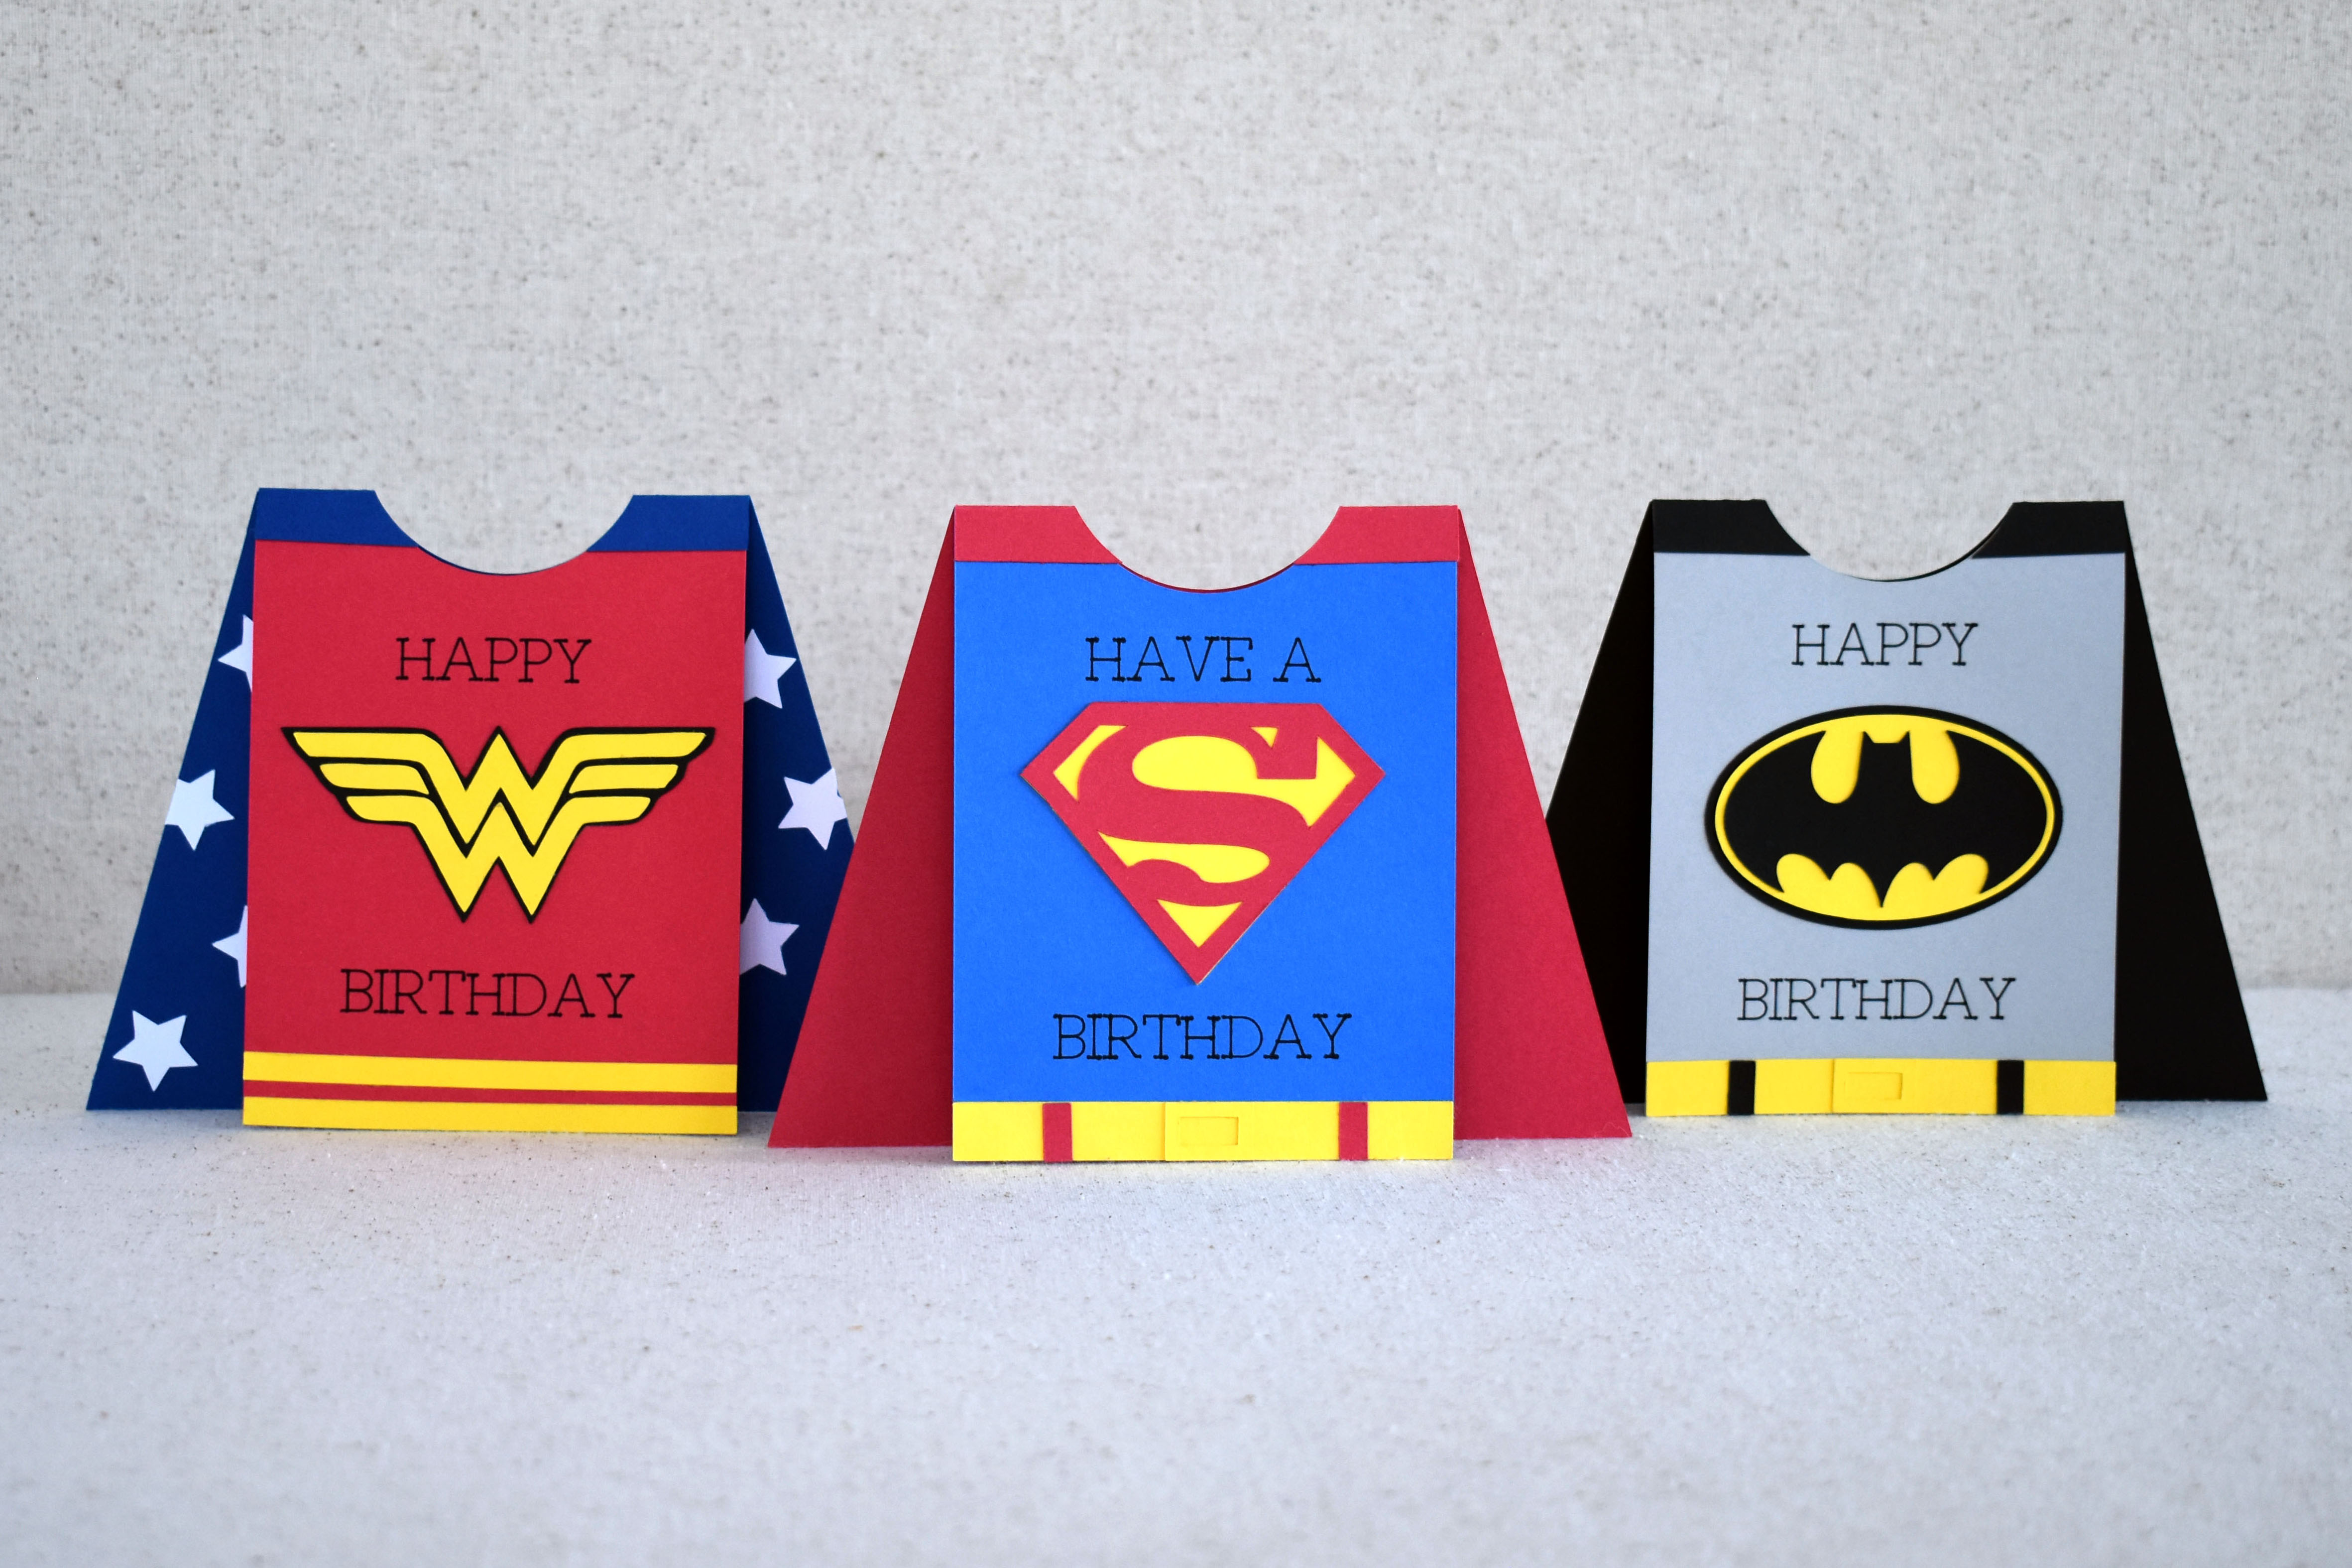
One of my New Year’s resolutions this year was to be better about sending handmade cards for loved ones’ birthdays. Living 3000 miles away from friends and family is definitely tough, but sending personalized cards for special occasions helps me feel more connected to everyone at home and reminds them how much I care. I’ve had so much fun designing cards that are personal to my loved ones and their interests. This superhero card has been a hit!
UPDATE (September 17, 2020): Cricut has added DC Comics images including superhero logos into Design Space! I’ve updated my templates to include the logos so you don’t have to upload your own. Please note, that Cricut charges $1.99 per logo, so you should delete the logos you’re not using to avoid excess charges.
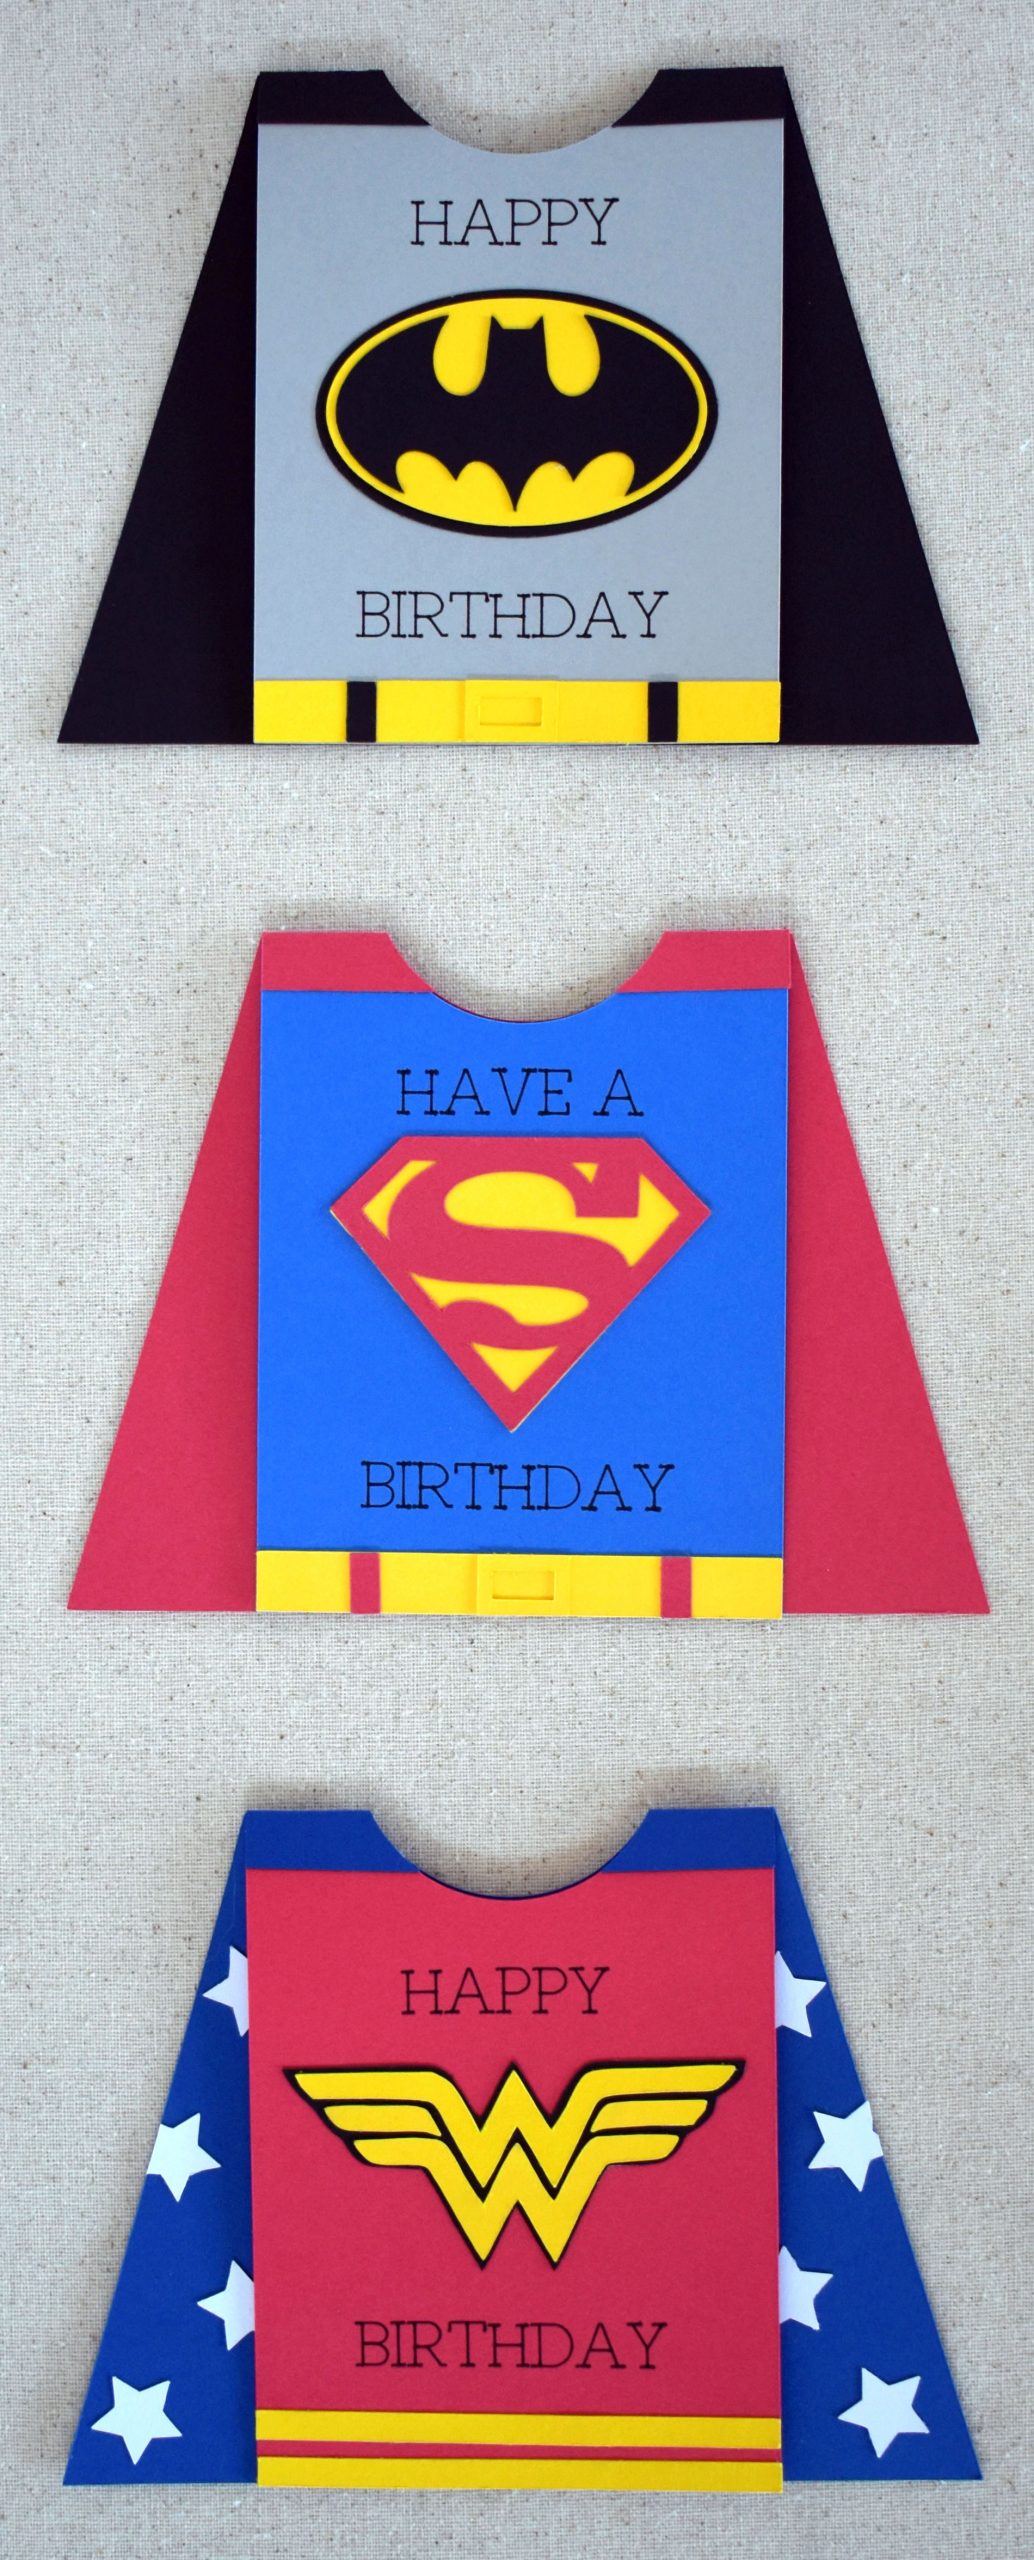
I’m sharing my tutorial so that you can create your own superhero-inspired card. This card is perfect for birthdays, Father’s Day, or even a get well card for a sick kiddo. My file is a template that you can personalize to match your favorite superhero.
CLICK HERE TO ACCESS MY FREE CRICUT DESIGN SPACE PROJECT
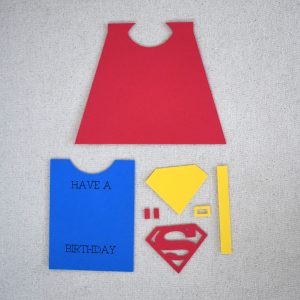
For this project, you’ll need:
- Cricut Maker or Cricut Explore Air 2 Machine & Fine Point Blade
- LightGrip Mat
- Scoring Wheel (Maker) or Scoring Stylus (Explore Air 2)
- Cricut 1.0 Marker in Black
- Cardstock
- Adhesive – I like to use the Xyron Creative Station & Elmer’s Permanent High Tack Tape Runner
1. Select the template you’d like to use in my Cricut Design Space file. Delete or hide the other templates.
2. Add a superhero logo of your choice and size it to fit in the center of the card. To find an image, I suggest conducting a Google image search for a high resolution logo and uploading it into Design Space. If you’ve never uploaded a multi-layer image into Design Space before, you may find this video tutorial from Lorrie Nunemaker helpful.
3. Draw, score, and cut all of the pieces you need for your card using your Cricut machine.
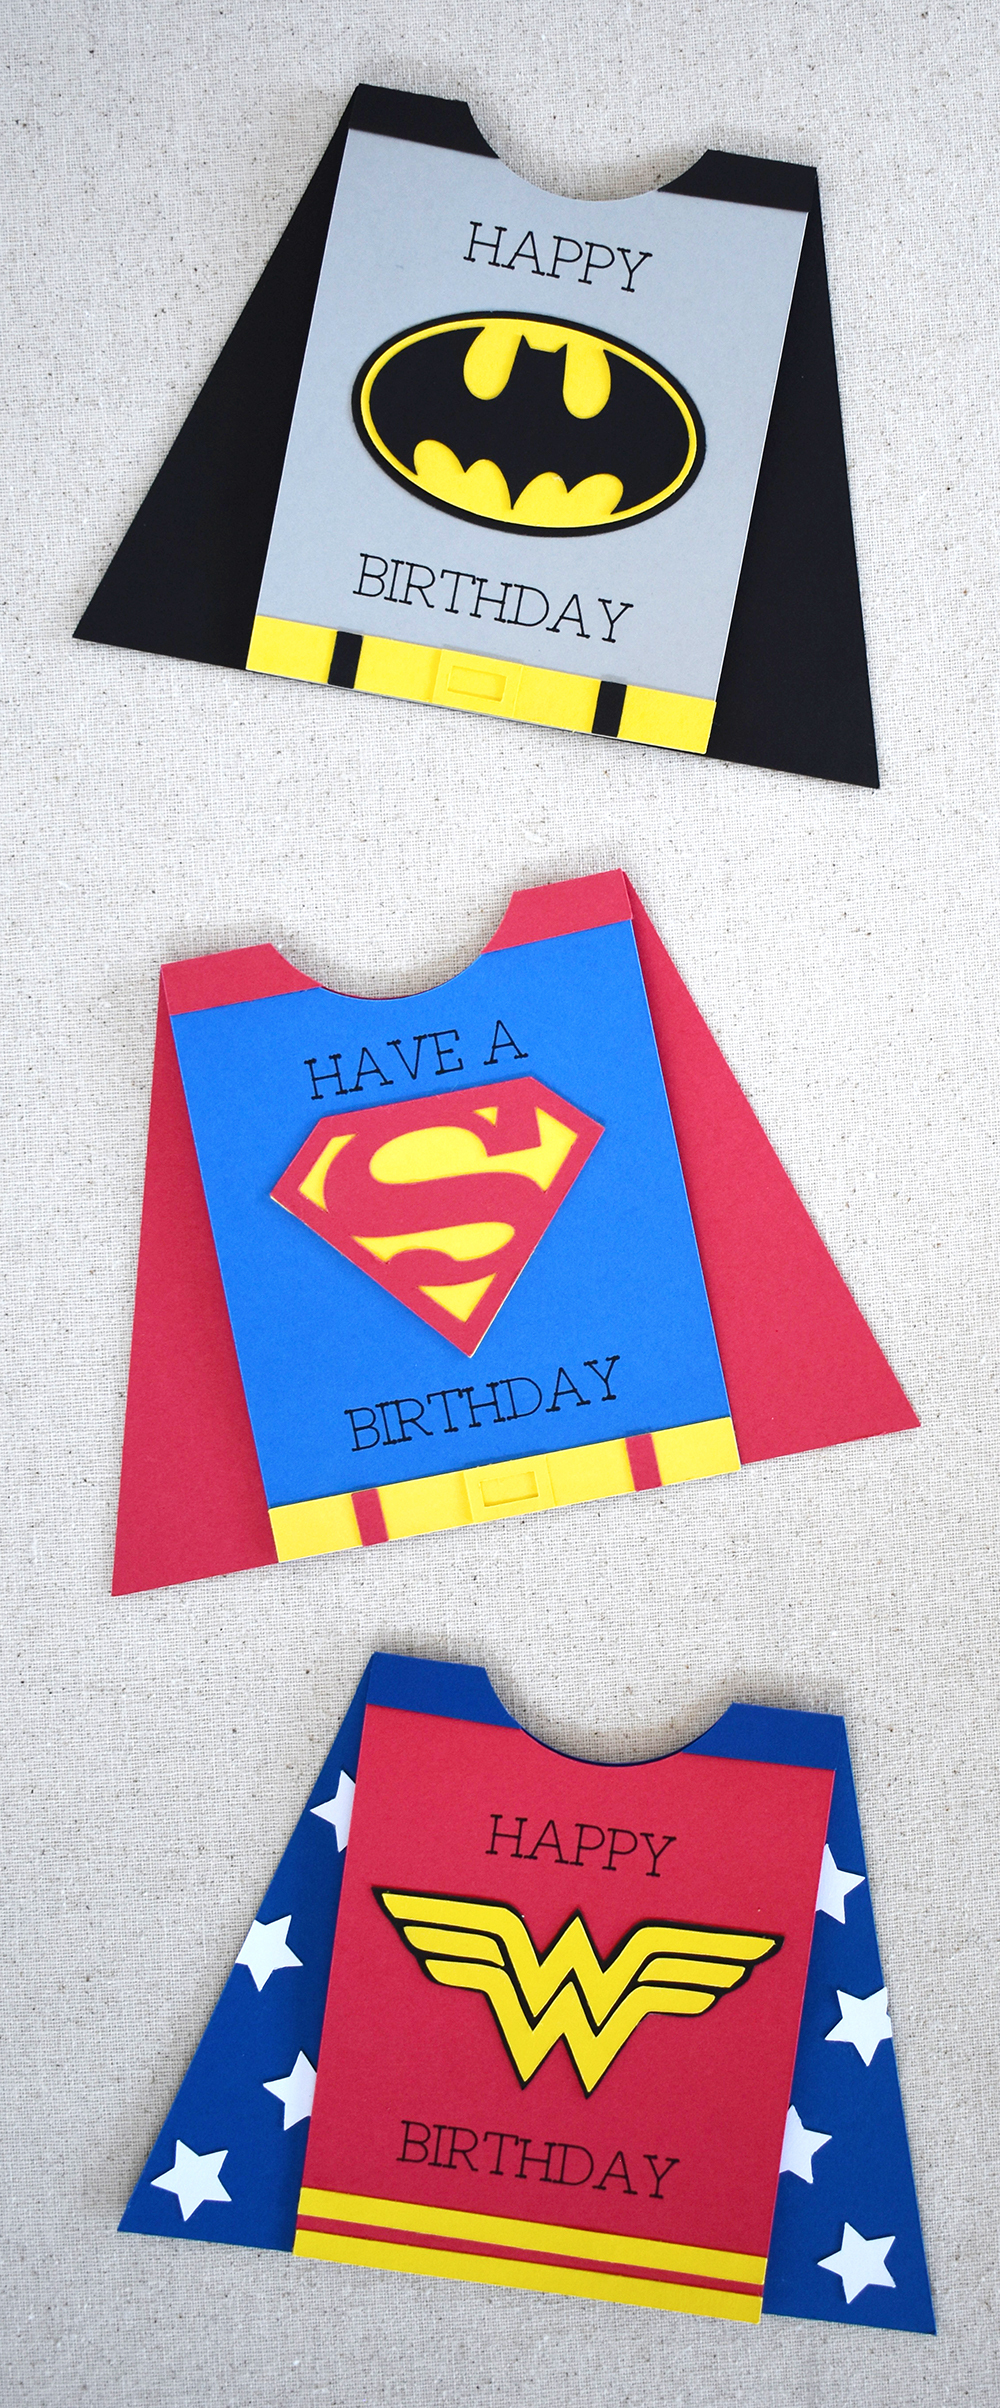
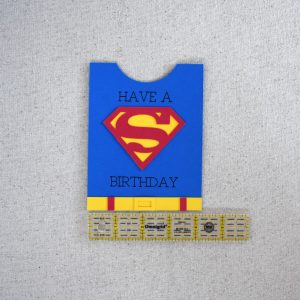
4. Assemble the layers of your logo and attach it to the center of your card. Attach the belt along the bottom of the card front. Place the belt buckle 1 3/4 inches from the edge of the card. Adhere each belt loop on top of the belt 3/4 inch from each edge. I use the Xyron Creative Station for this step.
 5. Fold the cape along the score lines and apply adhesive as shown in the photo below. I like to use a tape runner for this step.
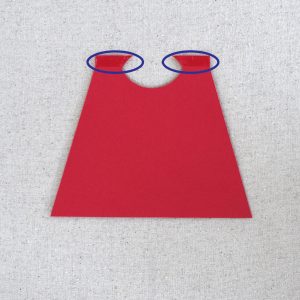
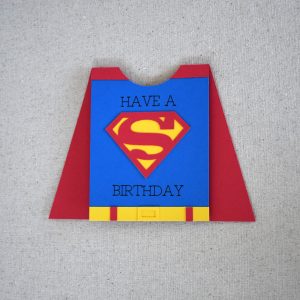
6. Attach the cape to the card front by lining up the top edges and folding down the top flaps.
Note: This post is not sponsored by nor affiliated with DC Comics or any of its parent companies or subsidiaries. The usage of superhero logos in this post is for instructional purposes only. Any items you make with this tutorial are for personal use and not commercial sale.
This post contains some contextual affiliate links. If you purchase any supplies through these links, The Wannabe Grandma receives a small commission. We only include links to products that we truly use and stand behind. Your purchases through our links allow us to continue to bring you great projects and contribute 10% of our proceeds to organizations that help children and youth living in foster care.